Mechanical Engineering
The following test fixtures were designed and printed while working at Woosh Air for different stages of the testing and manufacturing of a smart filter module that measures pressure data in HVAC systems.
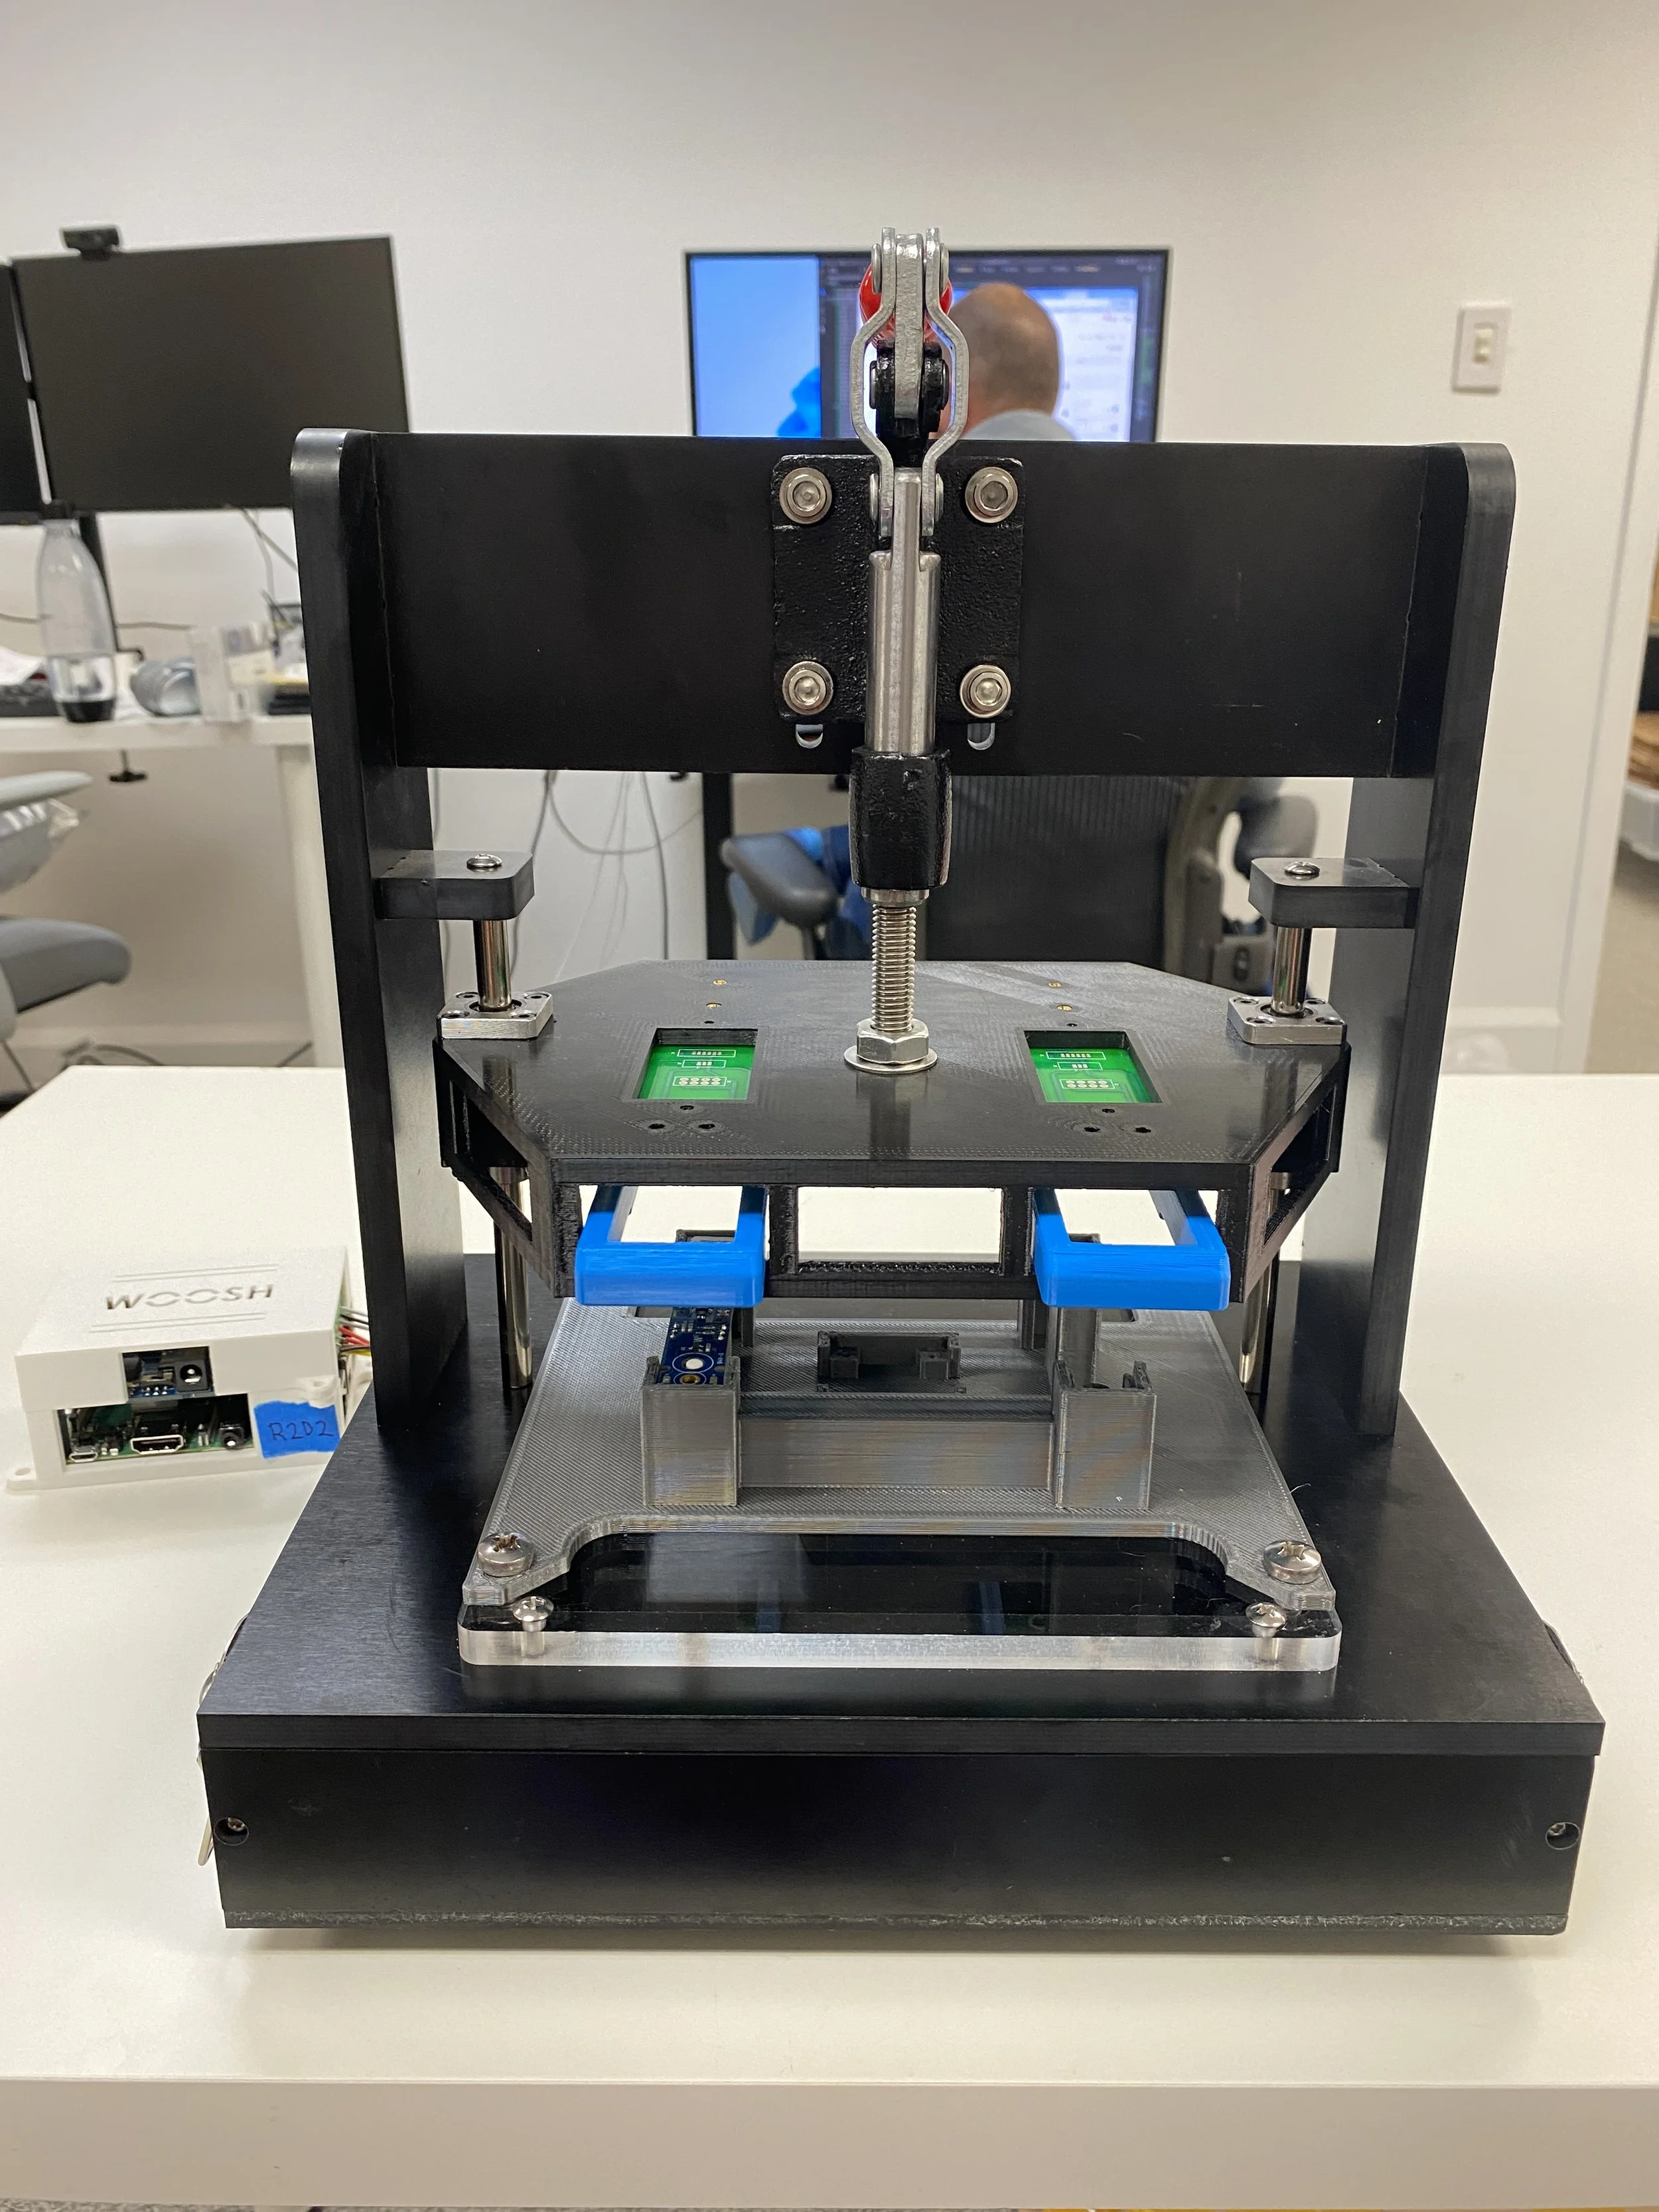
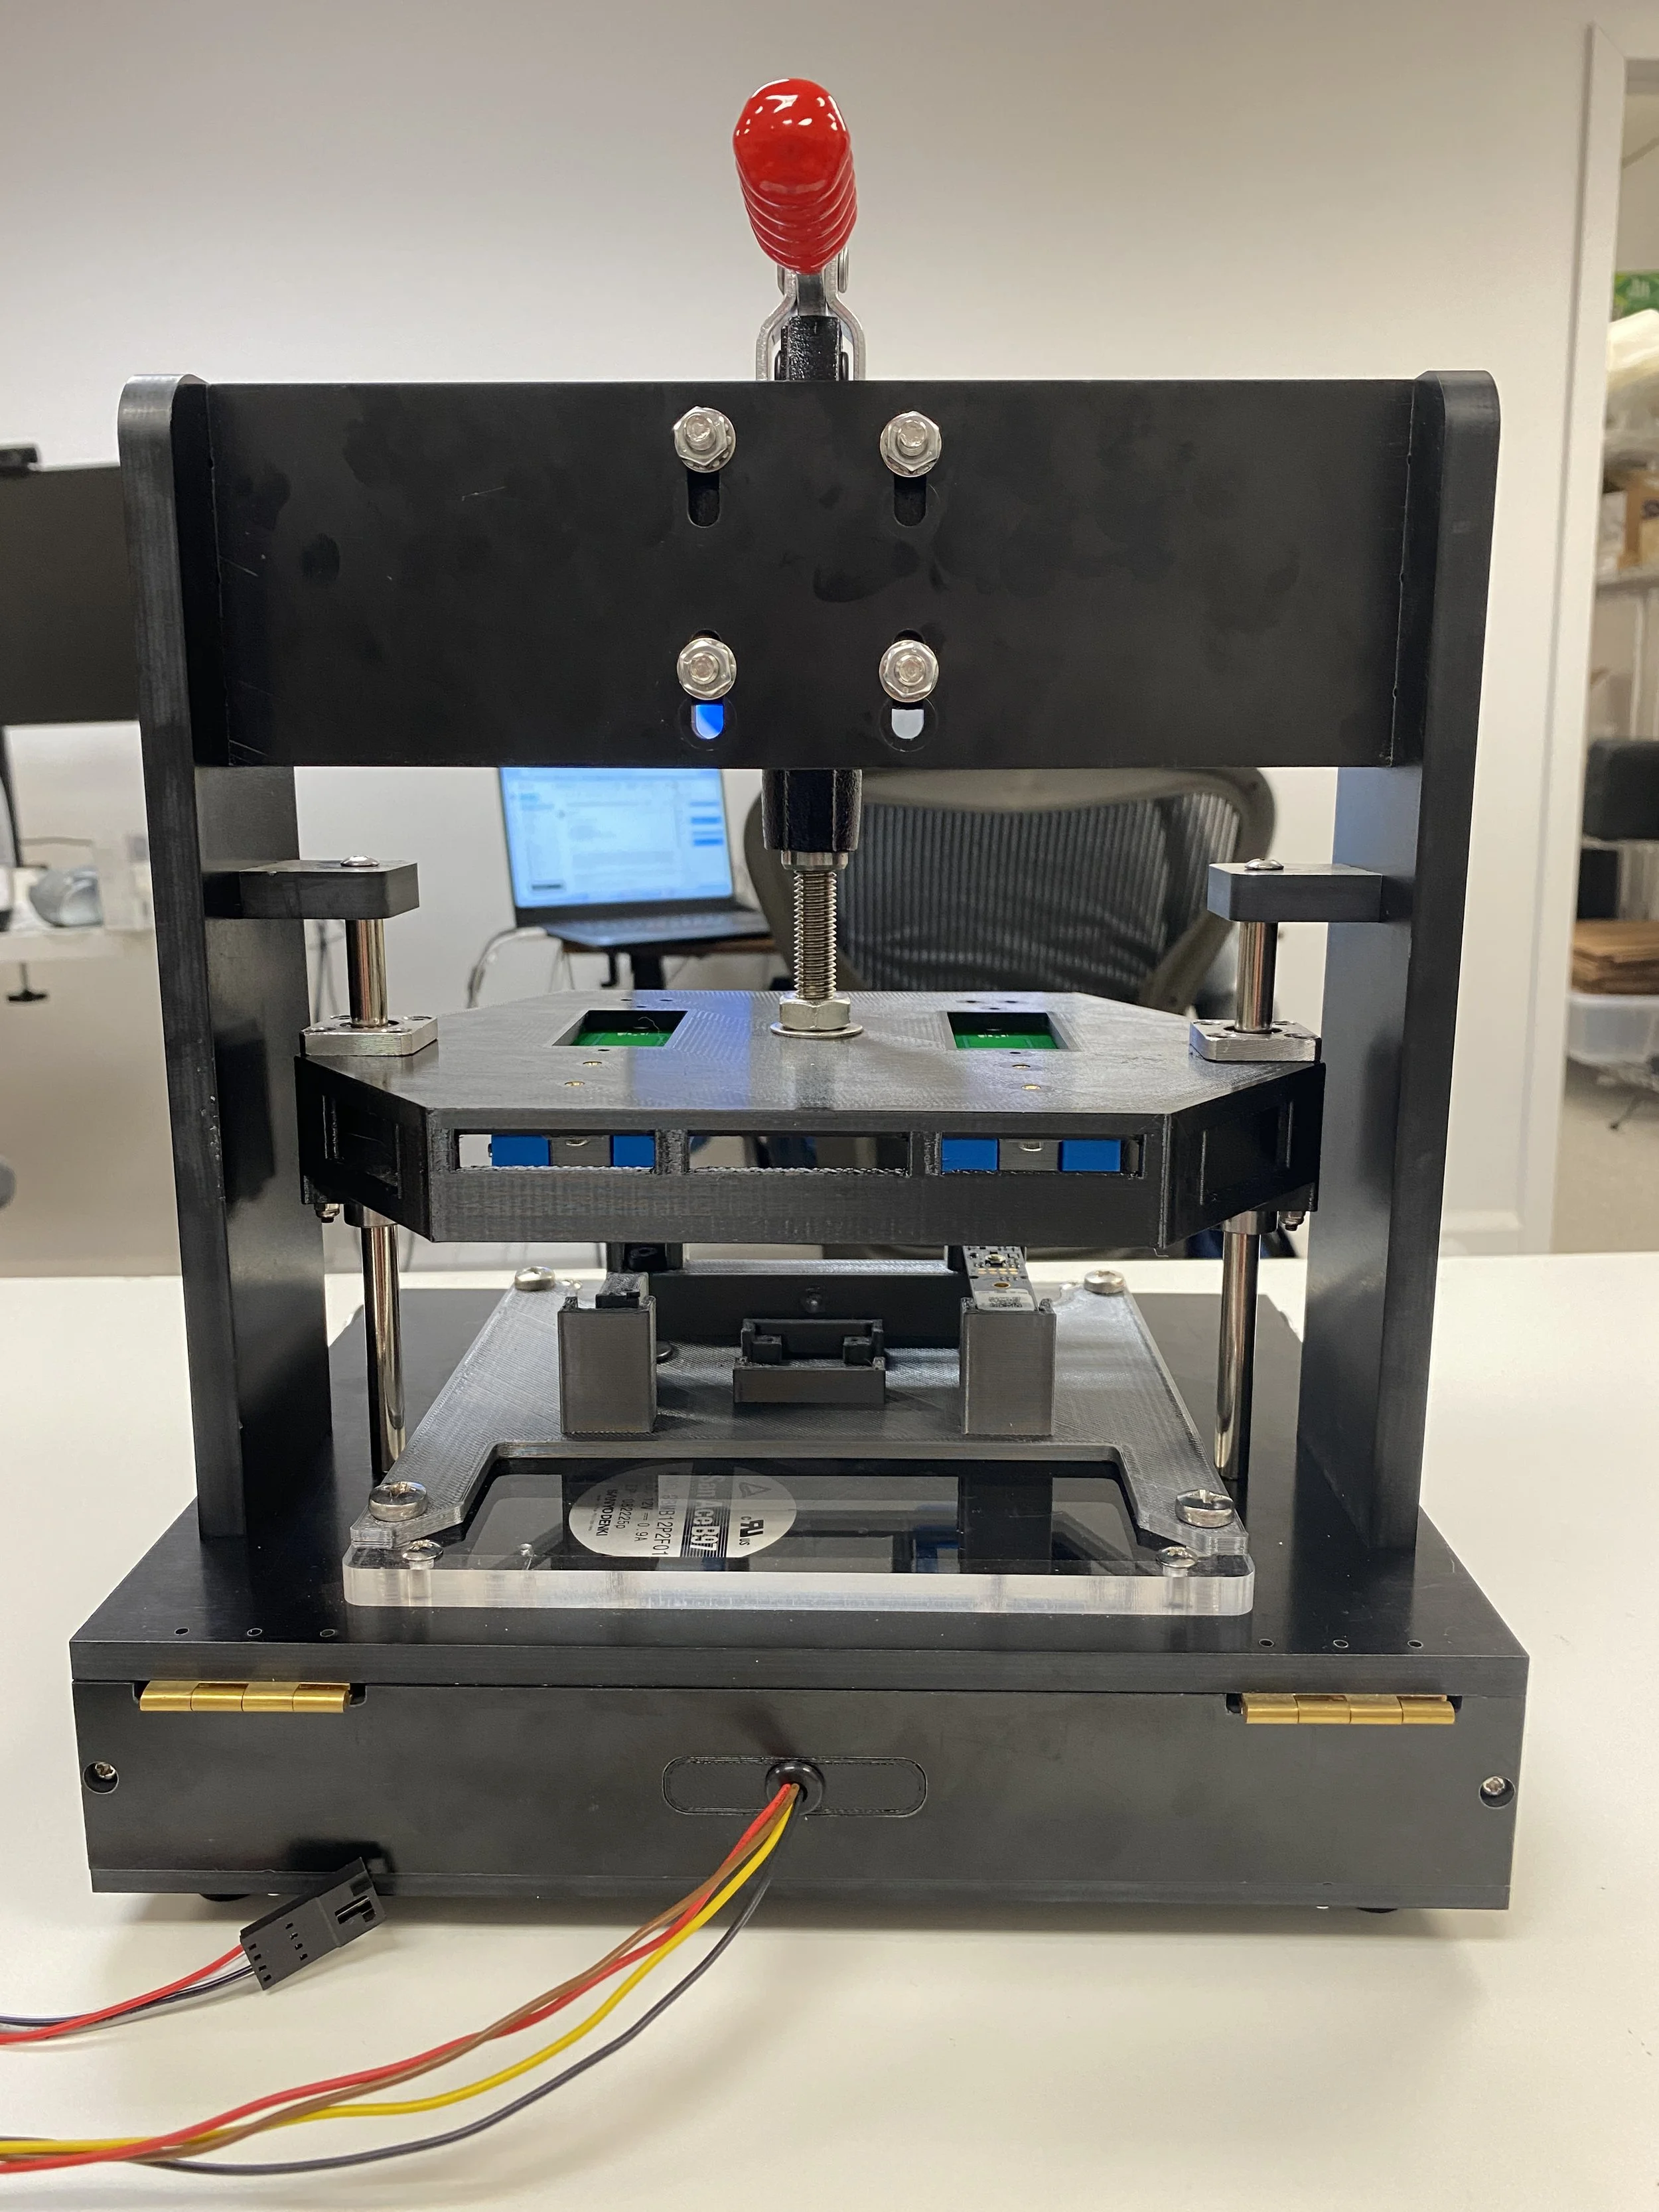
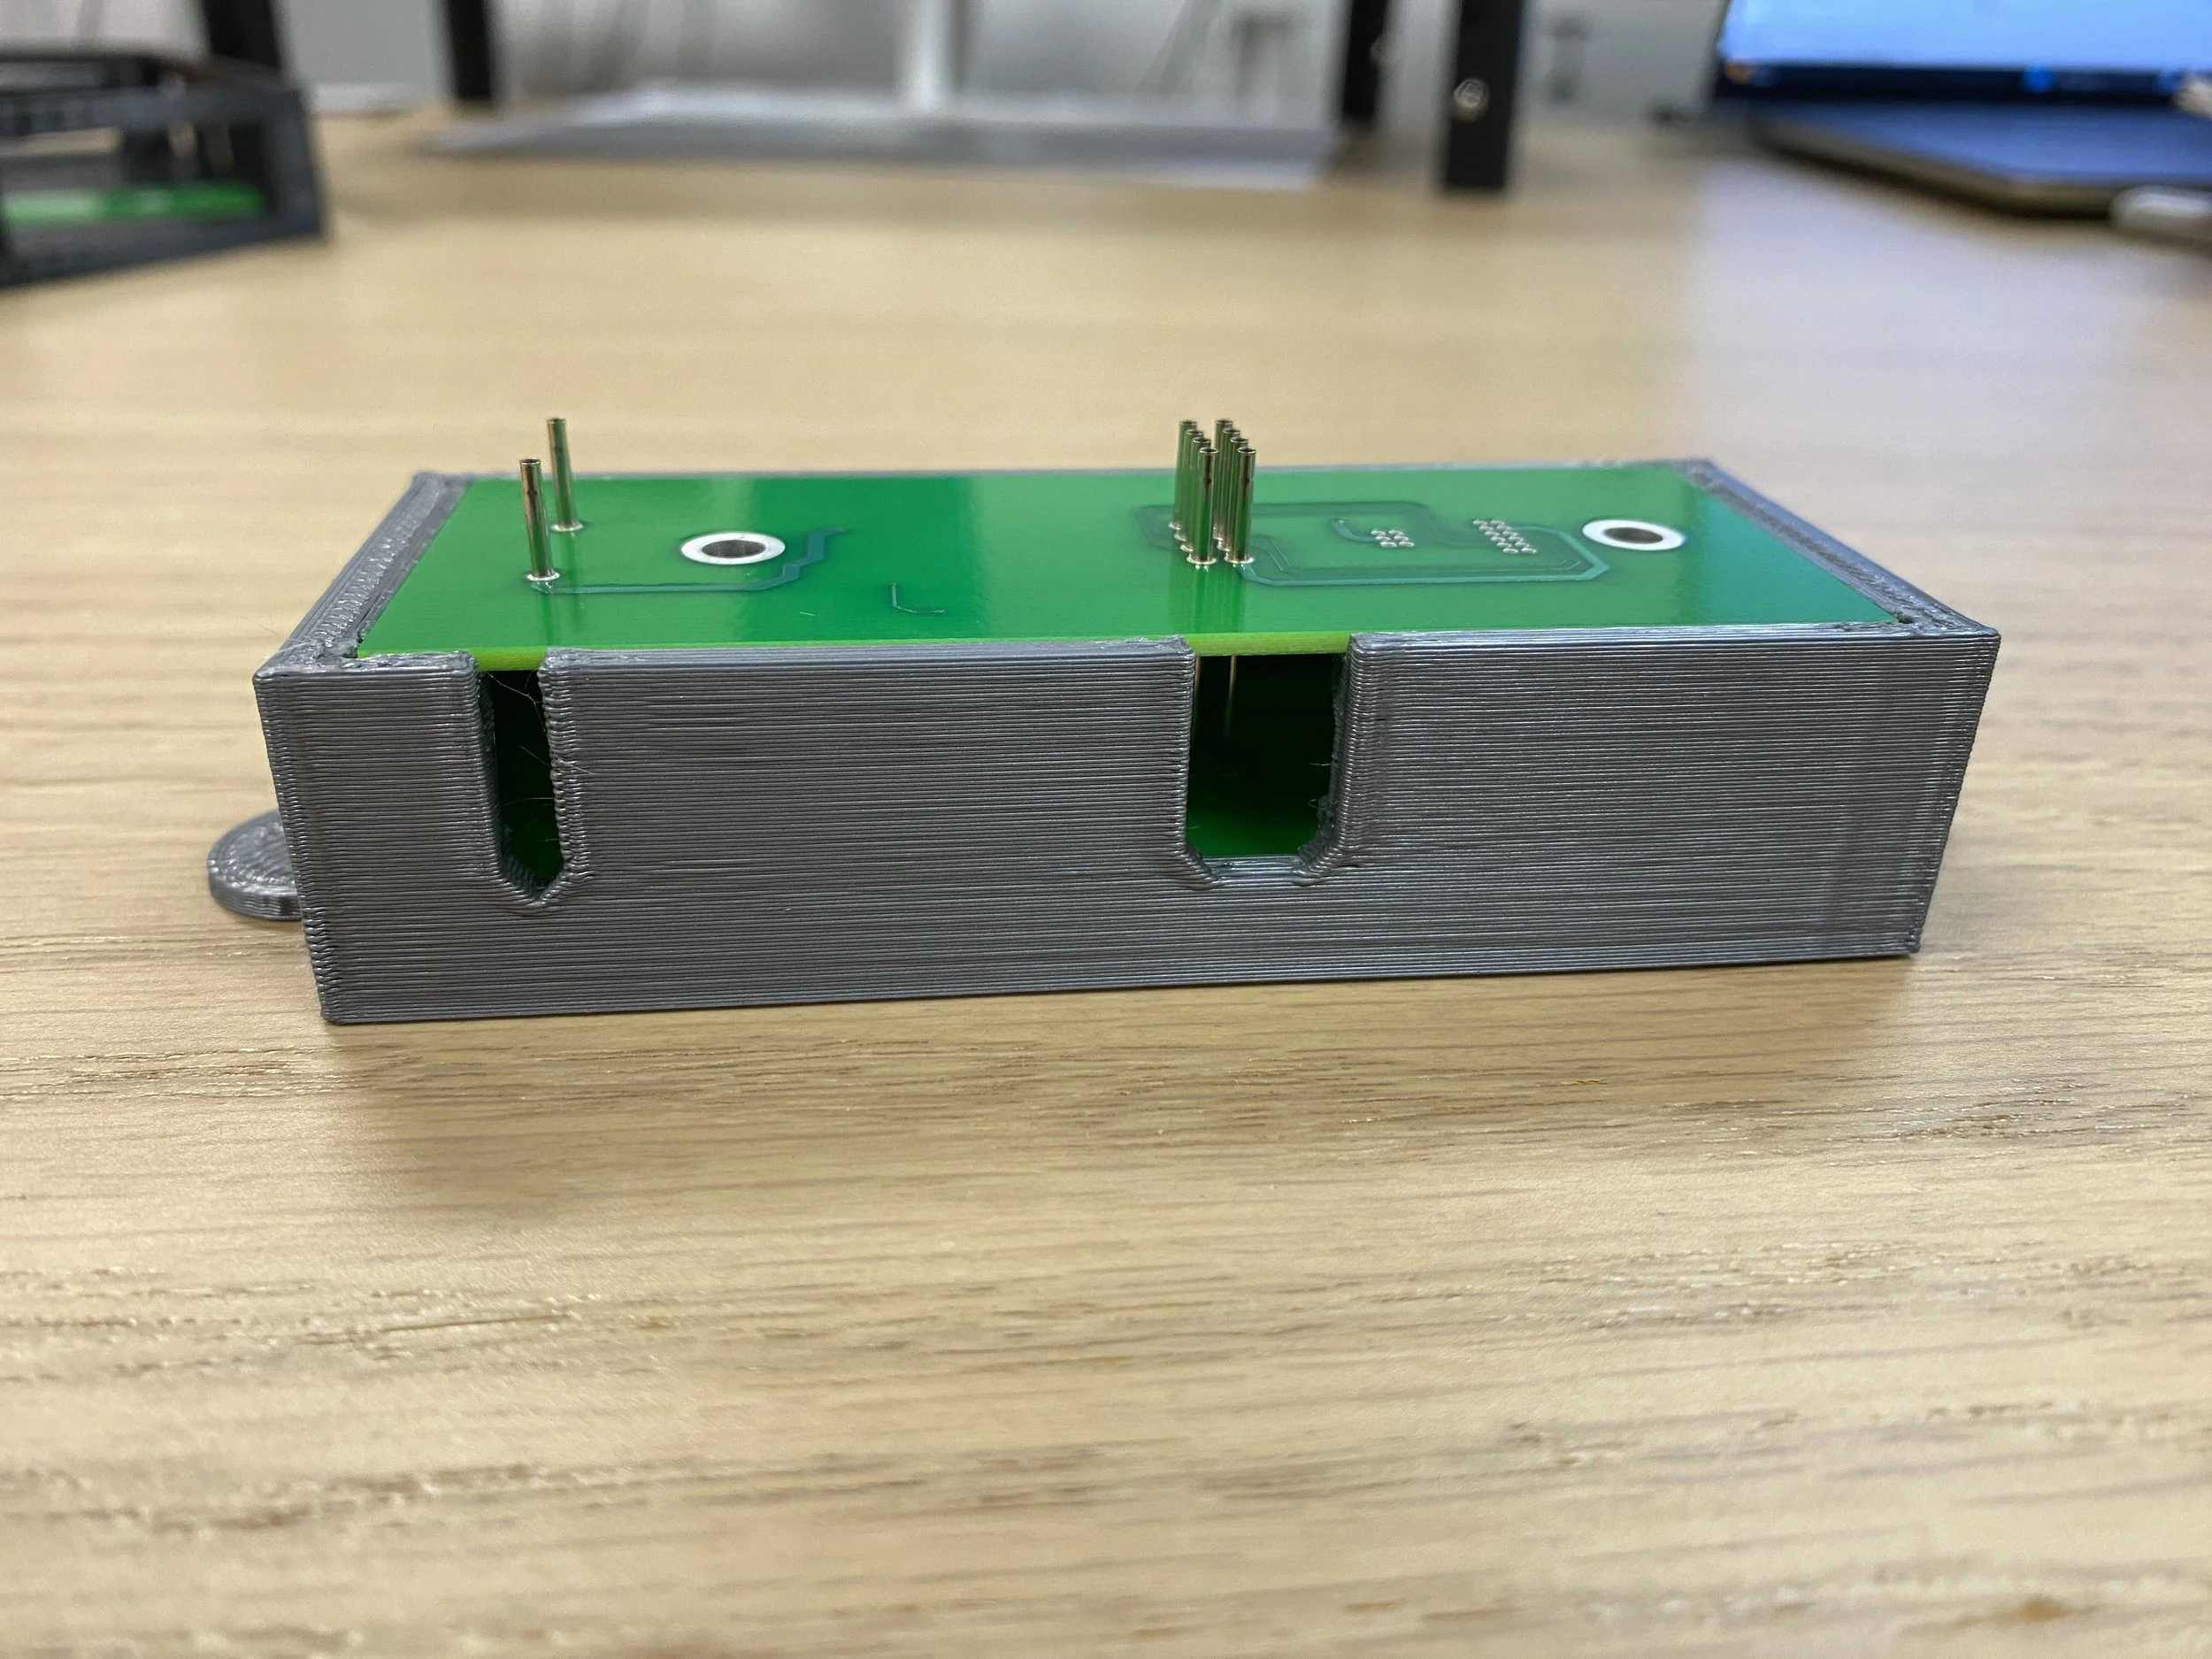
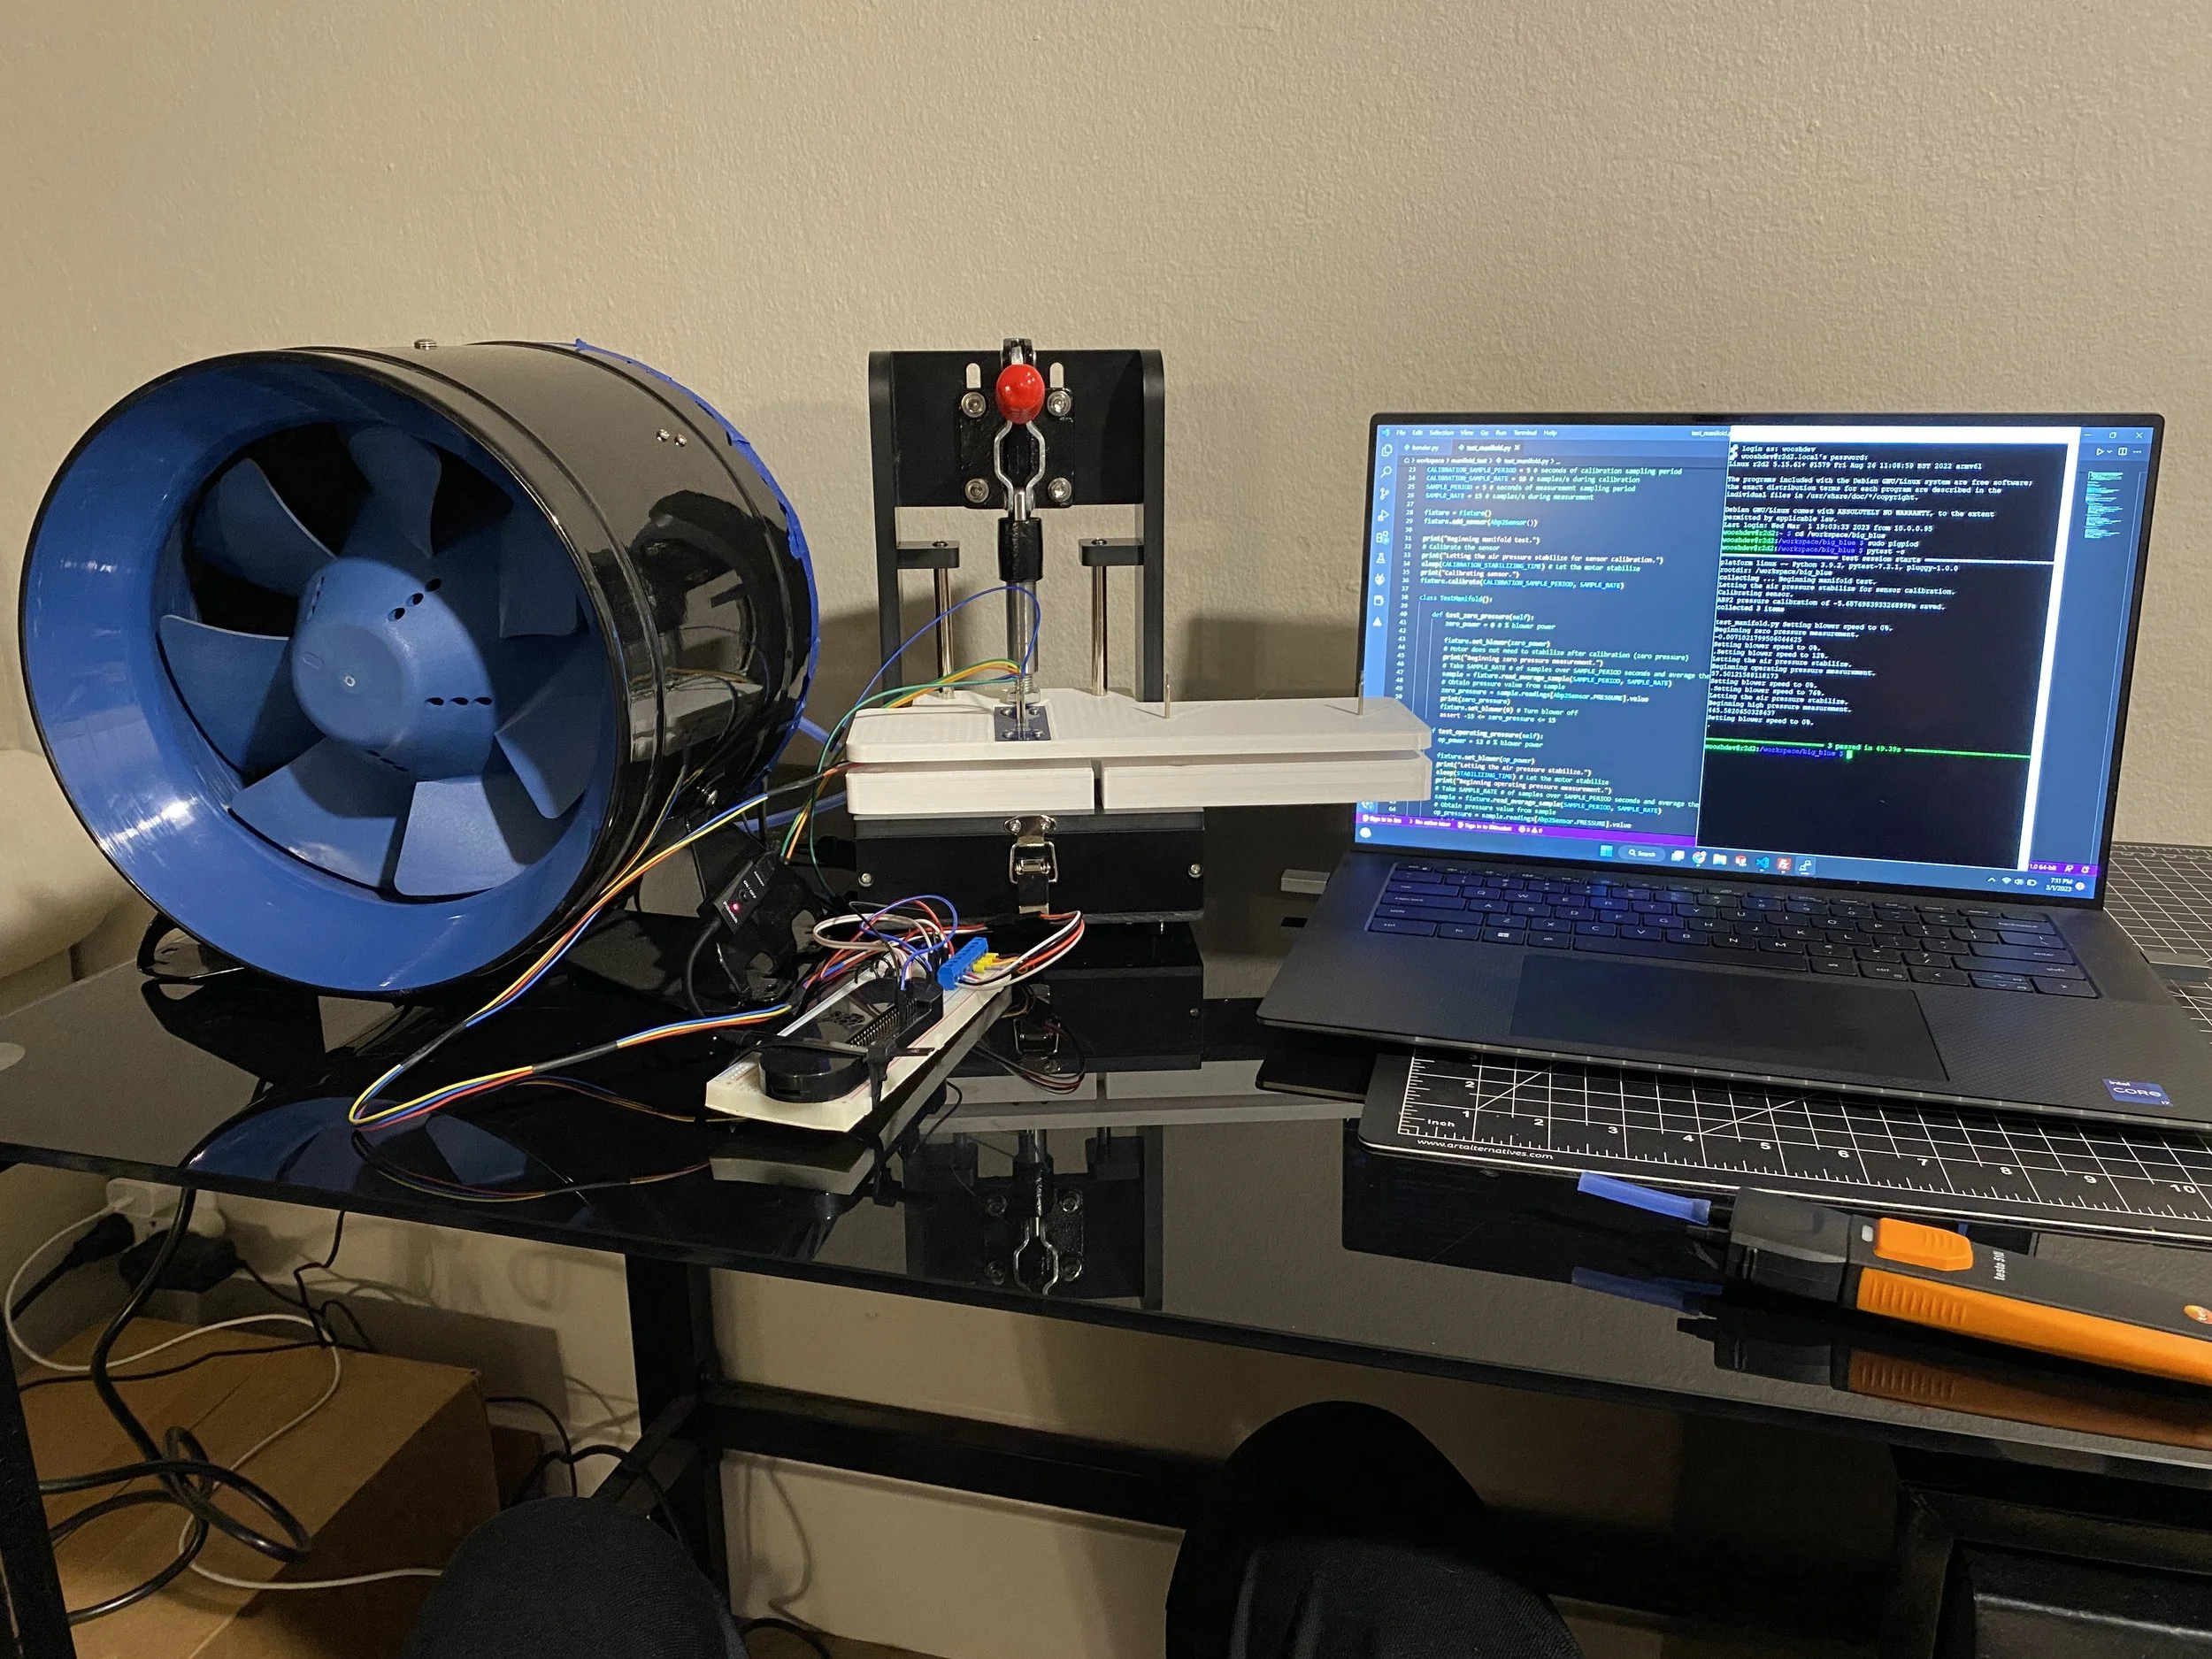
The press fixture was designed to program and test PCBAs manufactured in the factory. PCBAs are loaded into the fixture and the clamp is lowered such that the pogo pins make electrical connections. A manually-pressed button is used to press and test the button on the PCBA. The pressure sensor is tested using a fan and Raspberry Pi in the lower chamber, along with a reference sensor. The fixture is composed of a combination of 3D modeled and printed parts using SolidWorks and modified CR-10 3D printers (plates, buttons, mounts), and stock parts (modified black frame, acrylic plate and various hardware components such as clamp, bearings, screws, PEM nuts, pogo pins, grommets). An alignment holder was designed for ease and accuracy of soldering pogo pins for the interface PCBA.
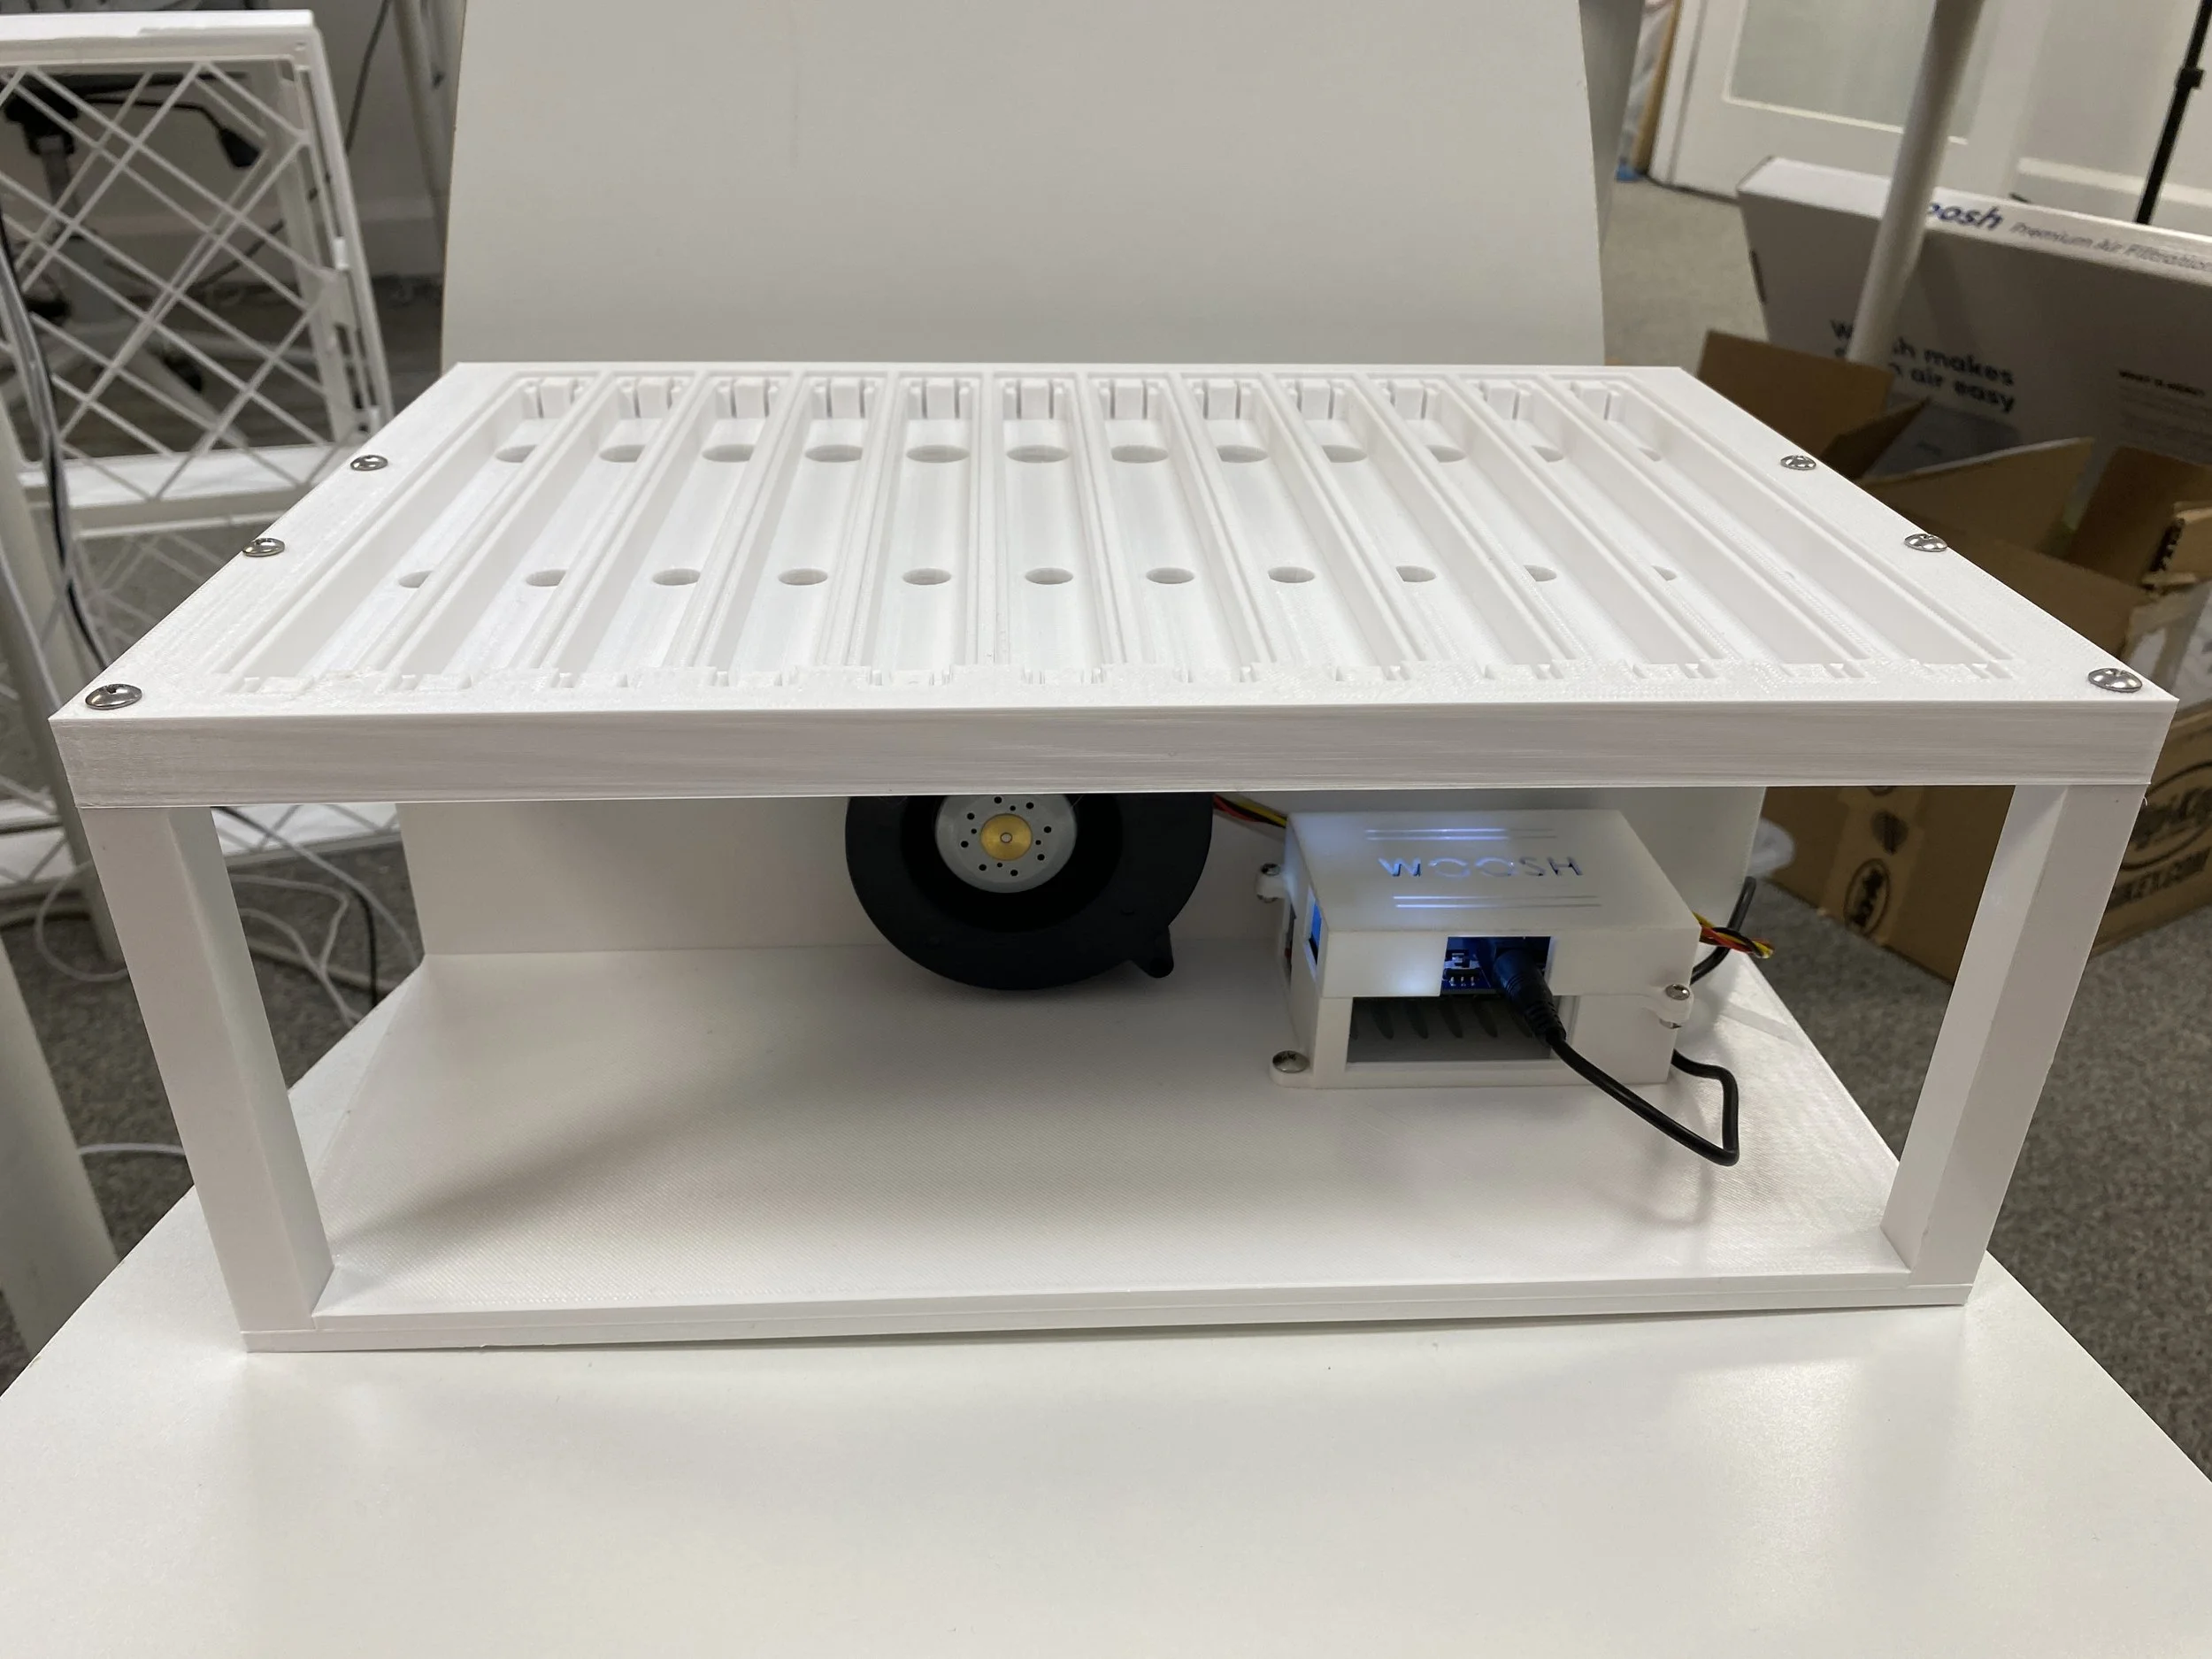
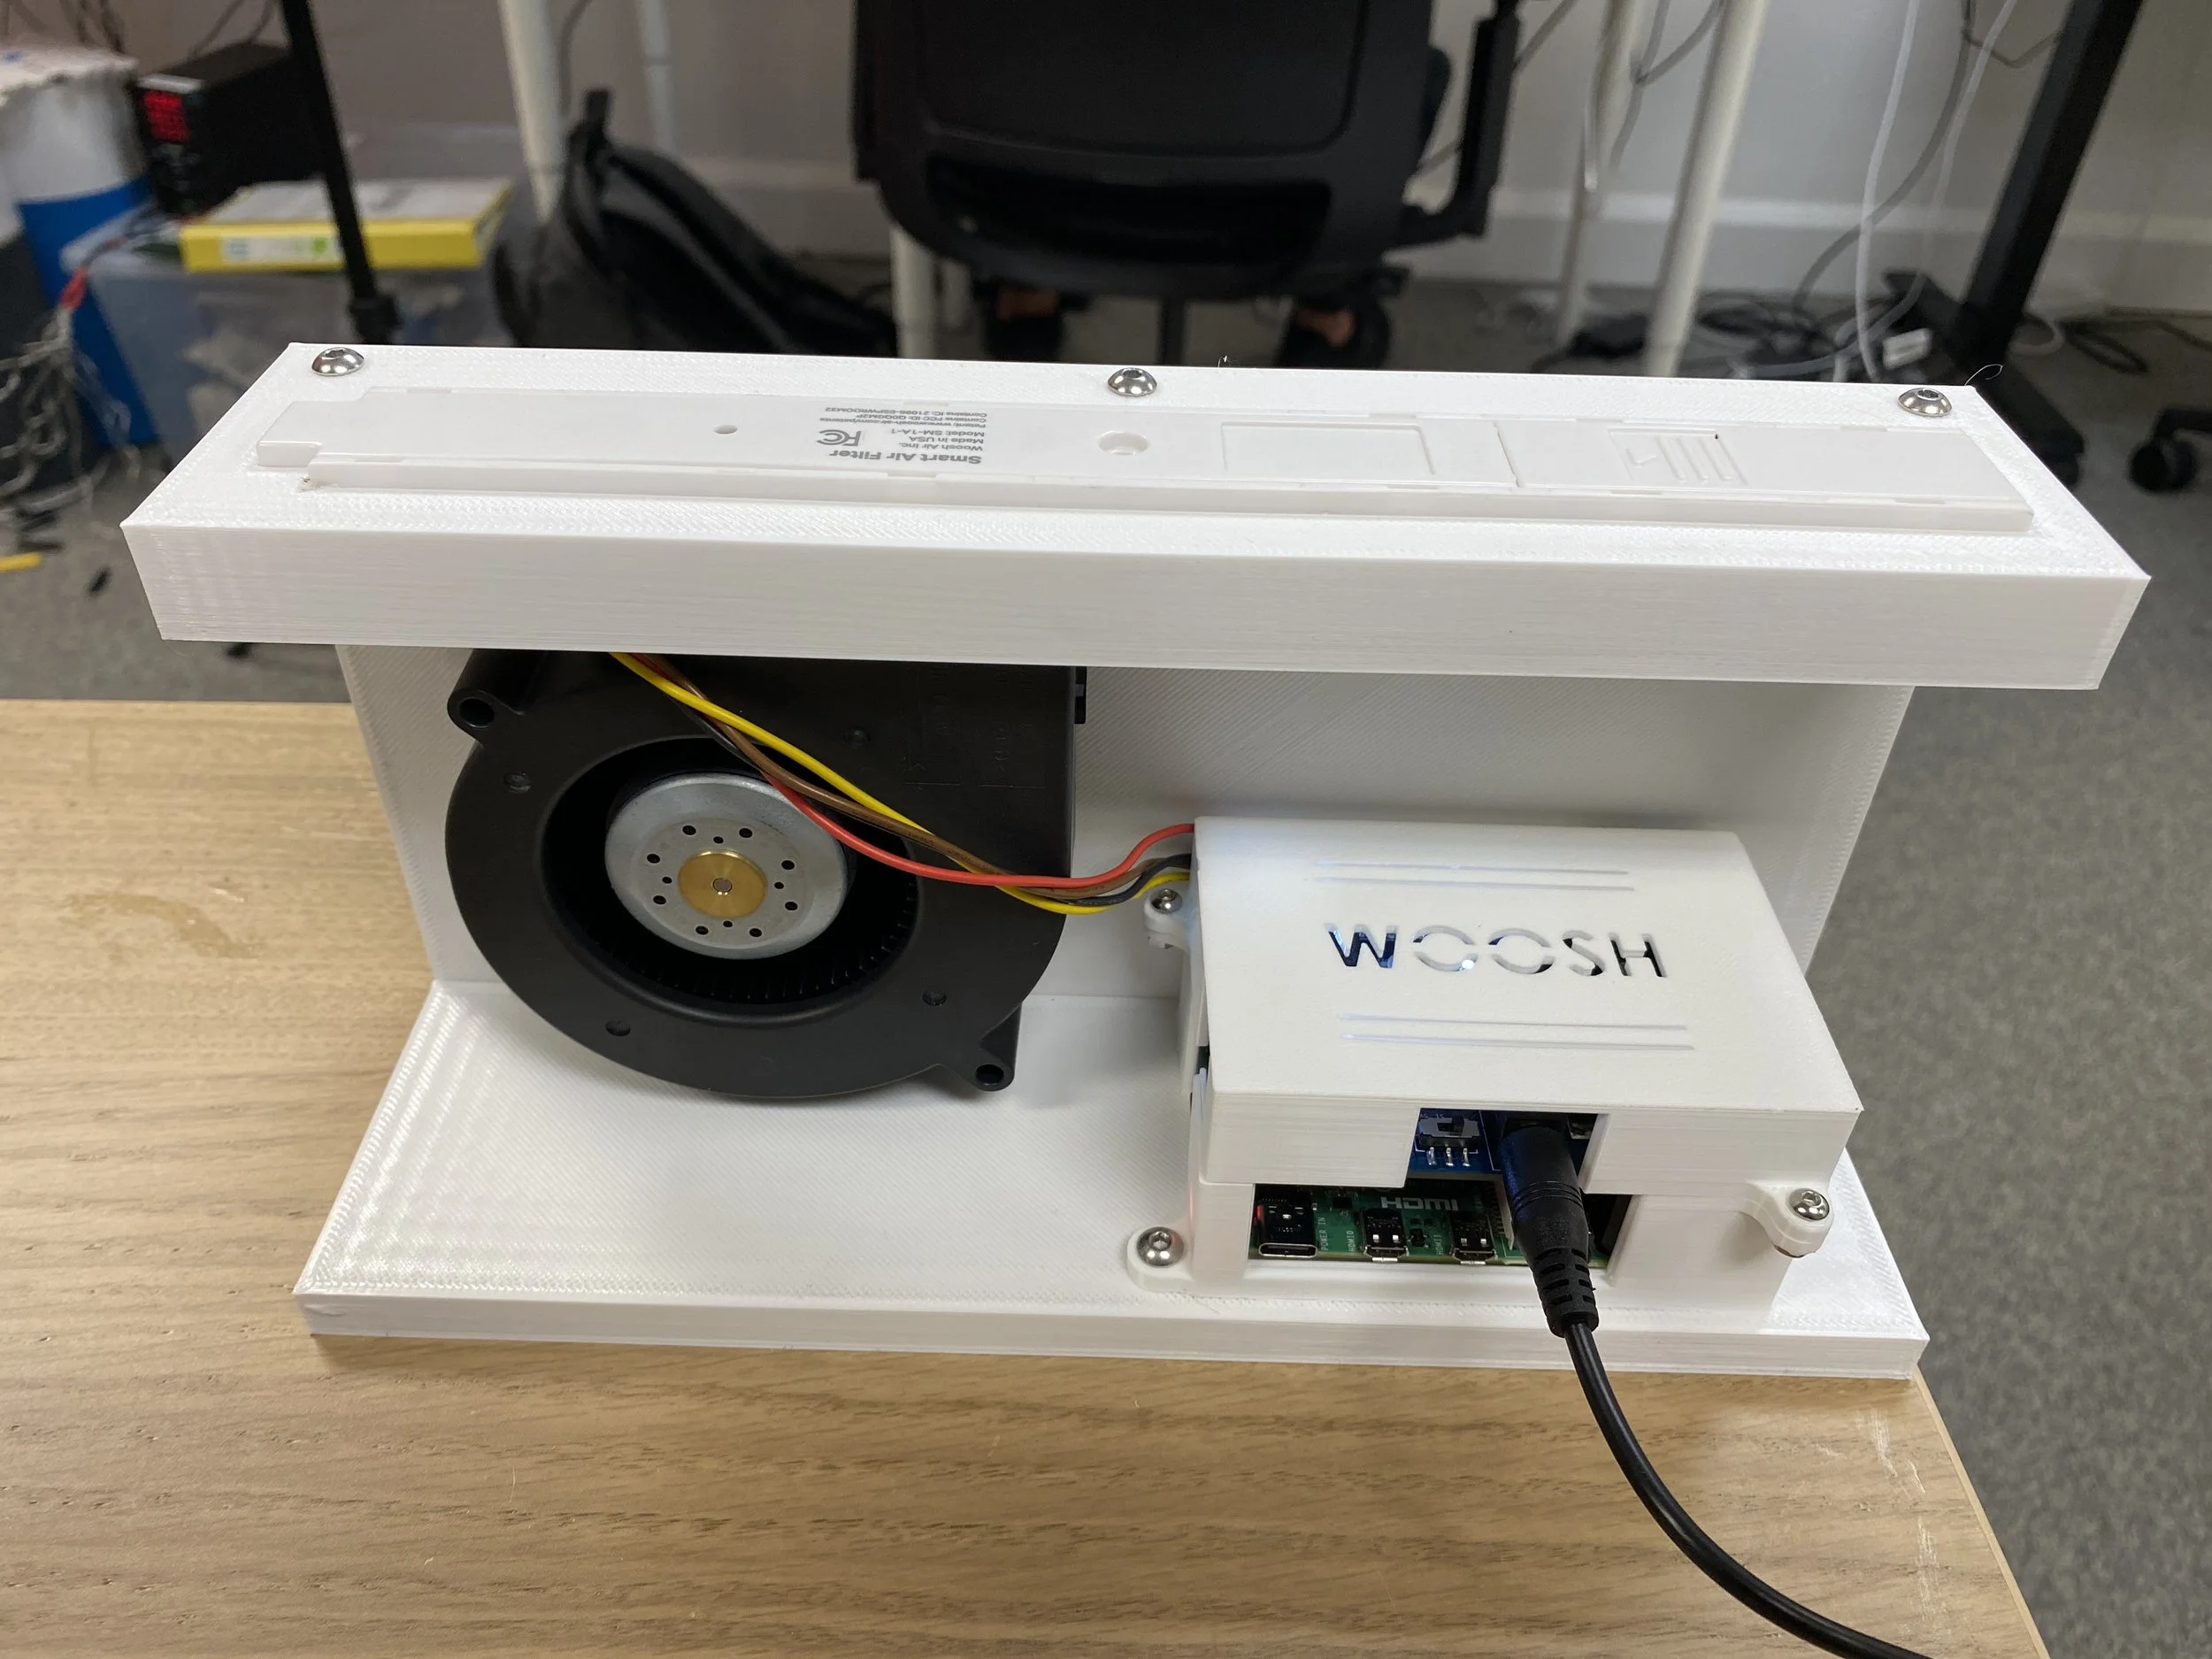
The 12-up fixture was designed at an earlier stage of the company to test the pressure sensors of assembled devices in-house by simulating an HVAC system. This was accomplished using an enclosed channel and a fan controlled by a Raspberry Pi. The fixture was designed in SolidWorks and printed using modified CR-10 and Ender 3 3D printers. The 12-up fixture was an upgrade of an even earlier 1-up iteration.
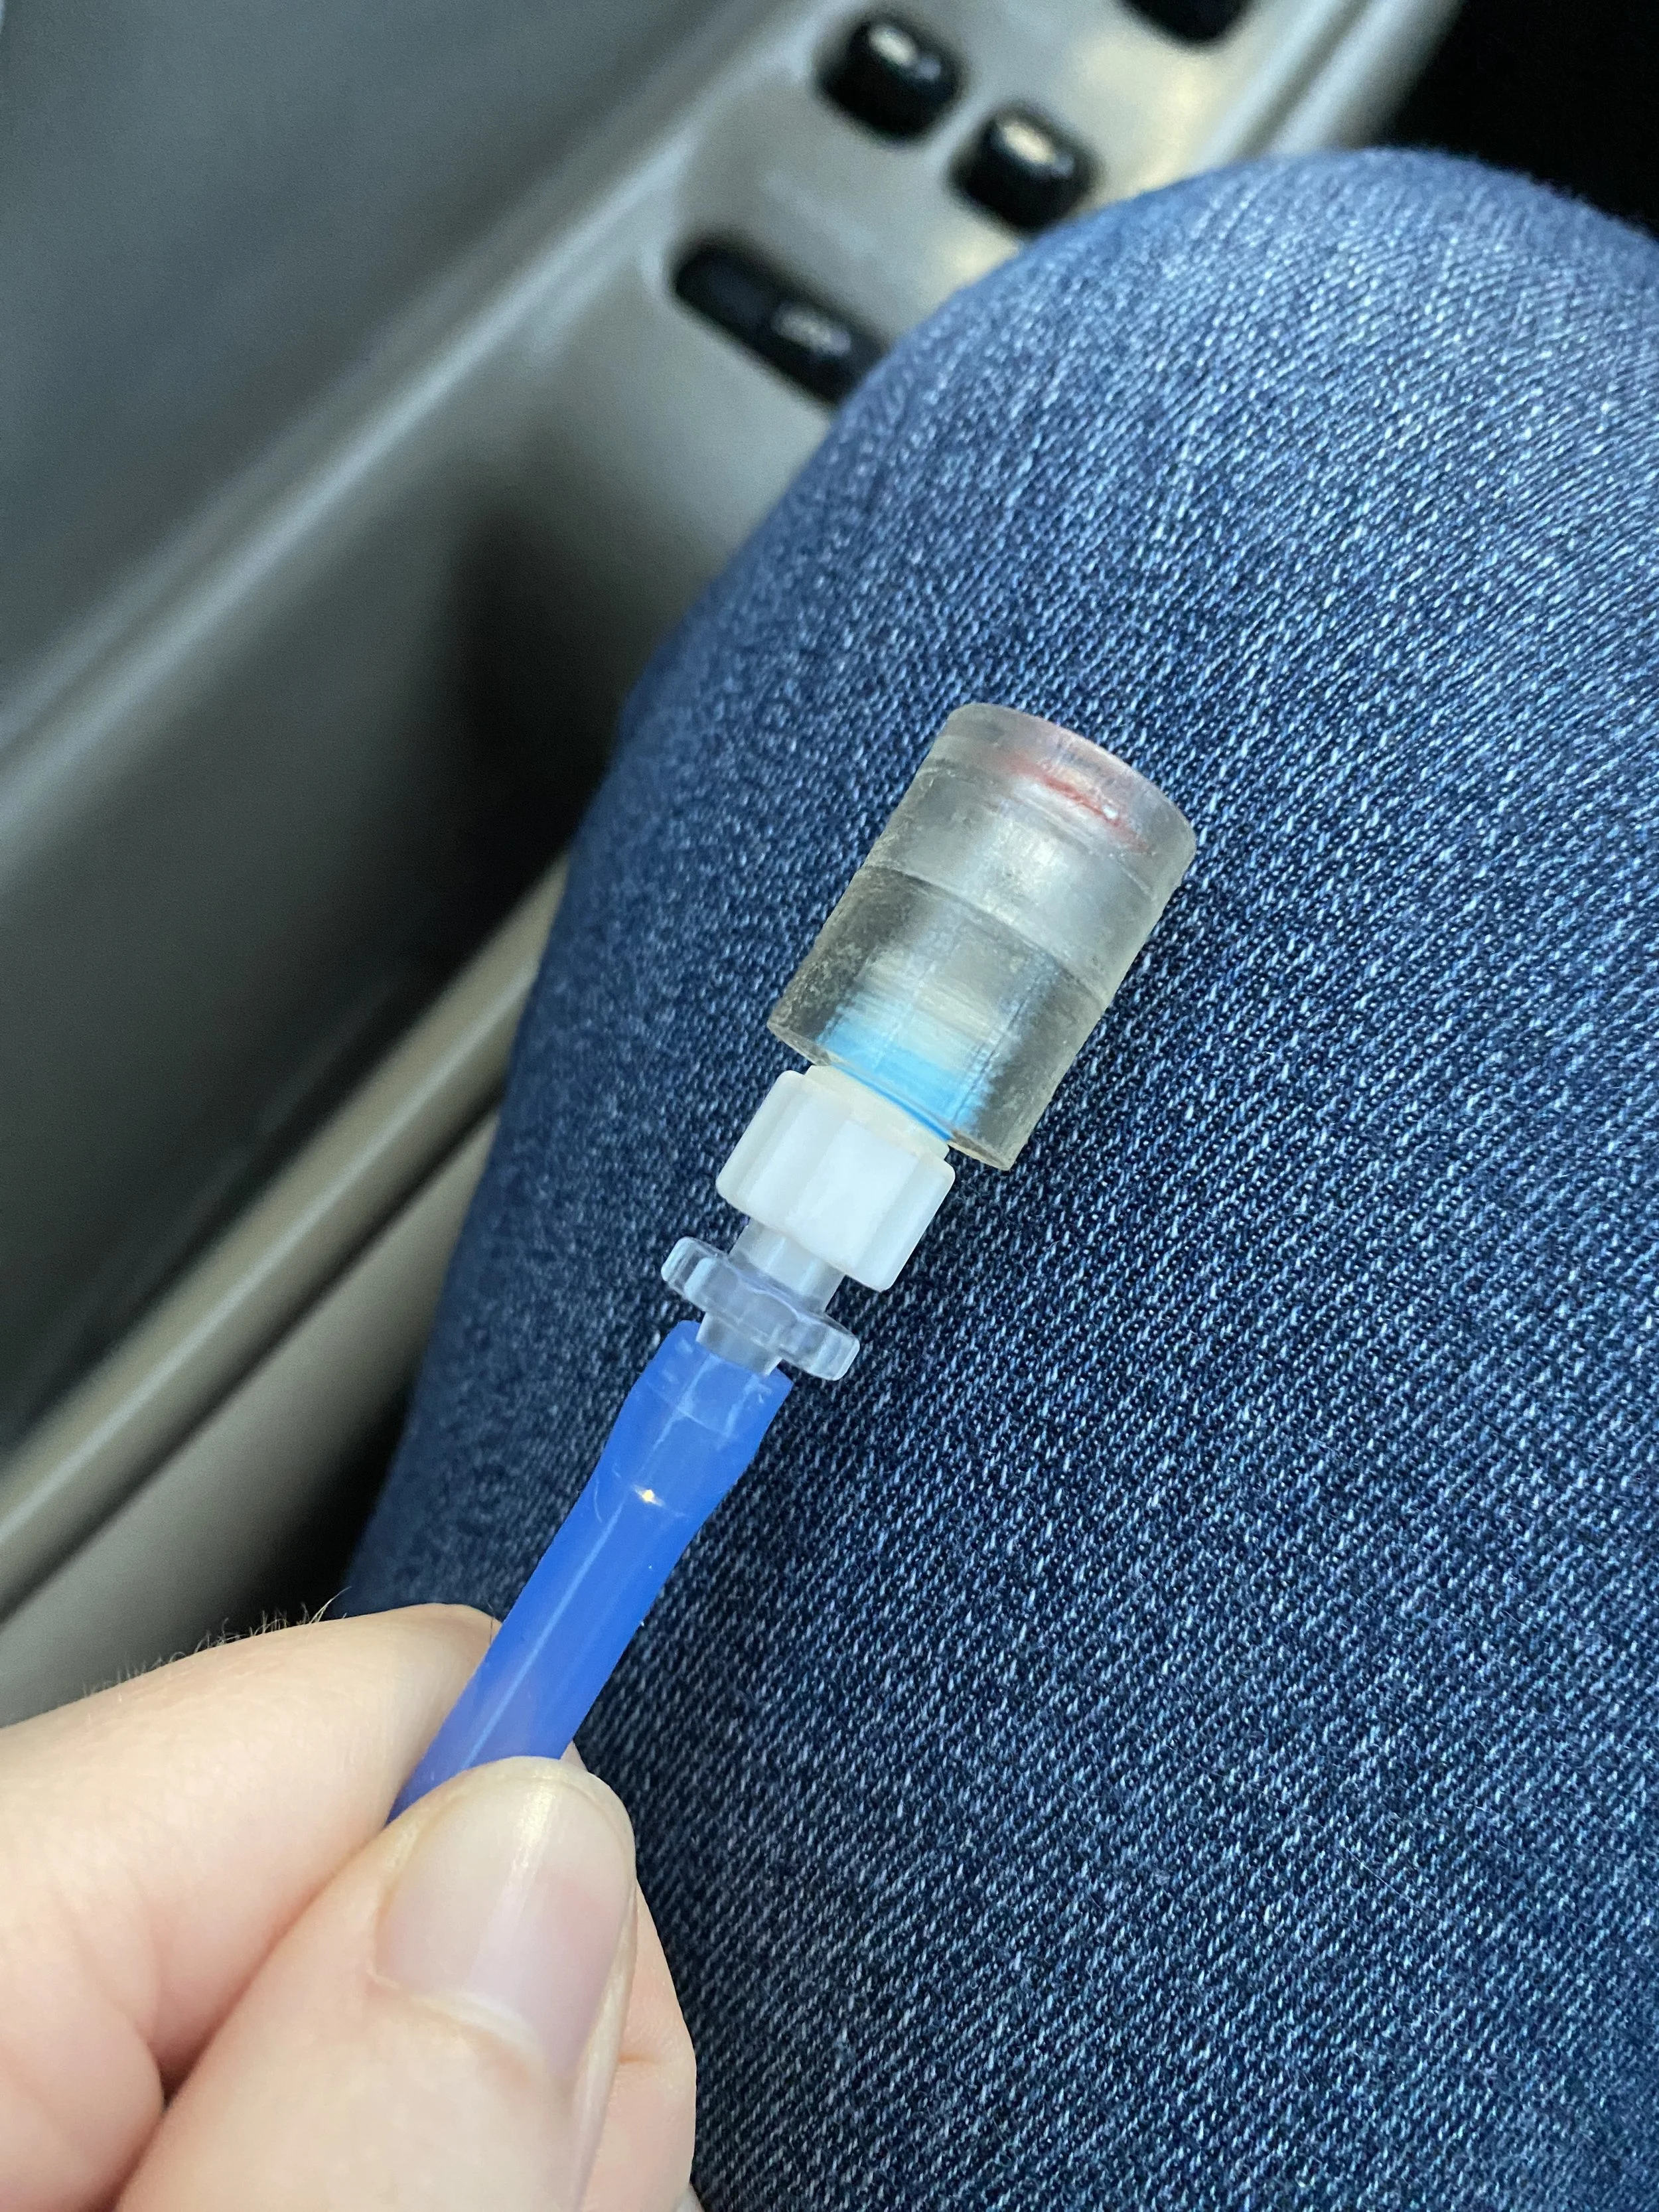
Lastly, at a very early stage of testing, o-ring interfaces were designed to hook up directly to the device pressure sensor manifold to test and measure pressure data. These interfaces were designed using SolidWorks and printed using an acrylic 3D printer.
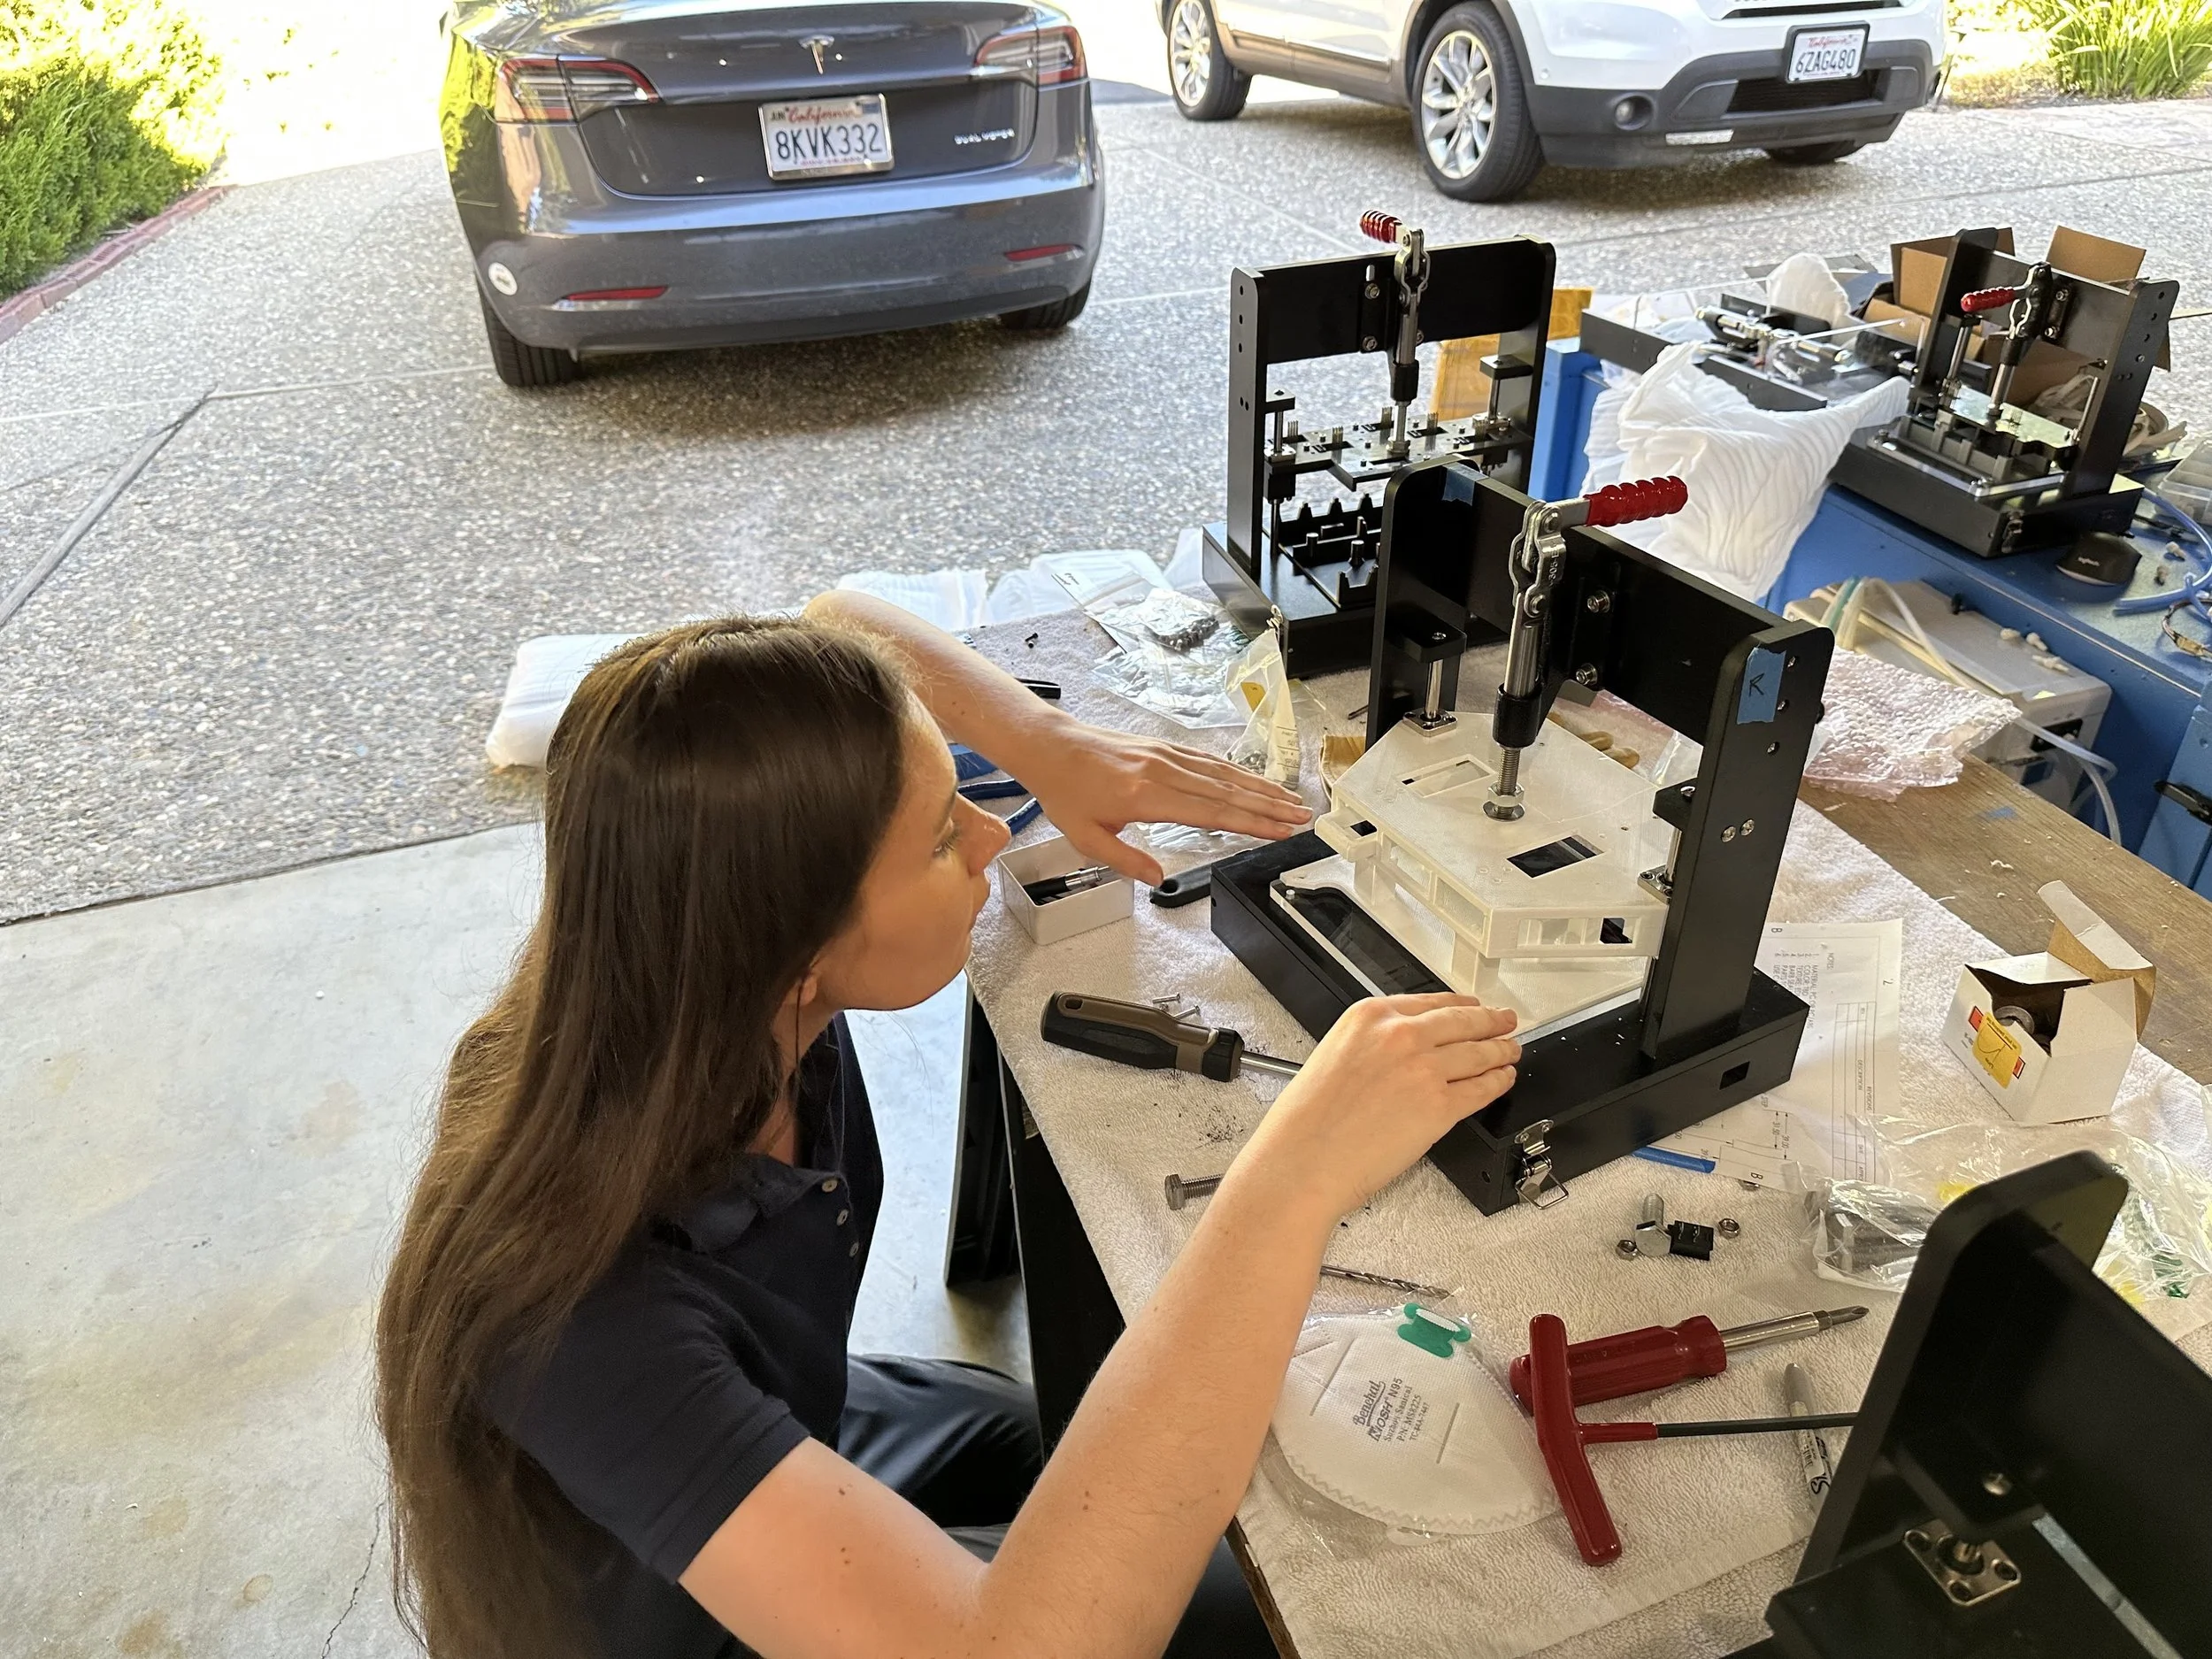
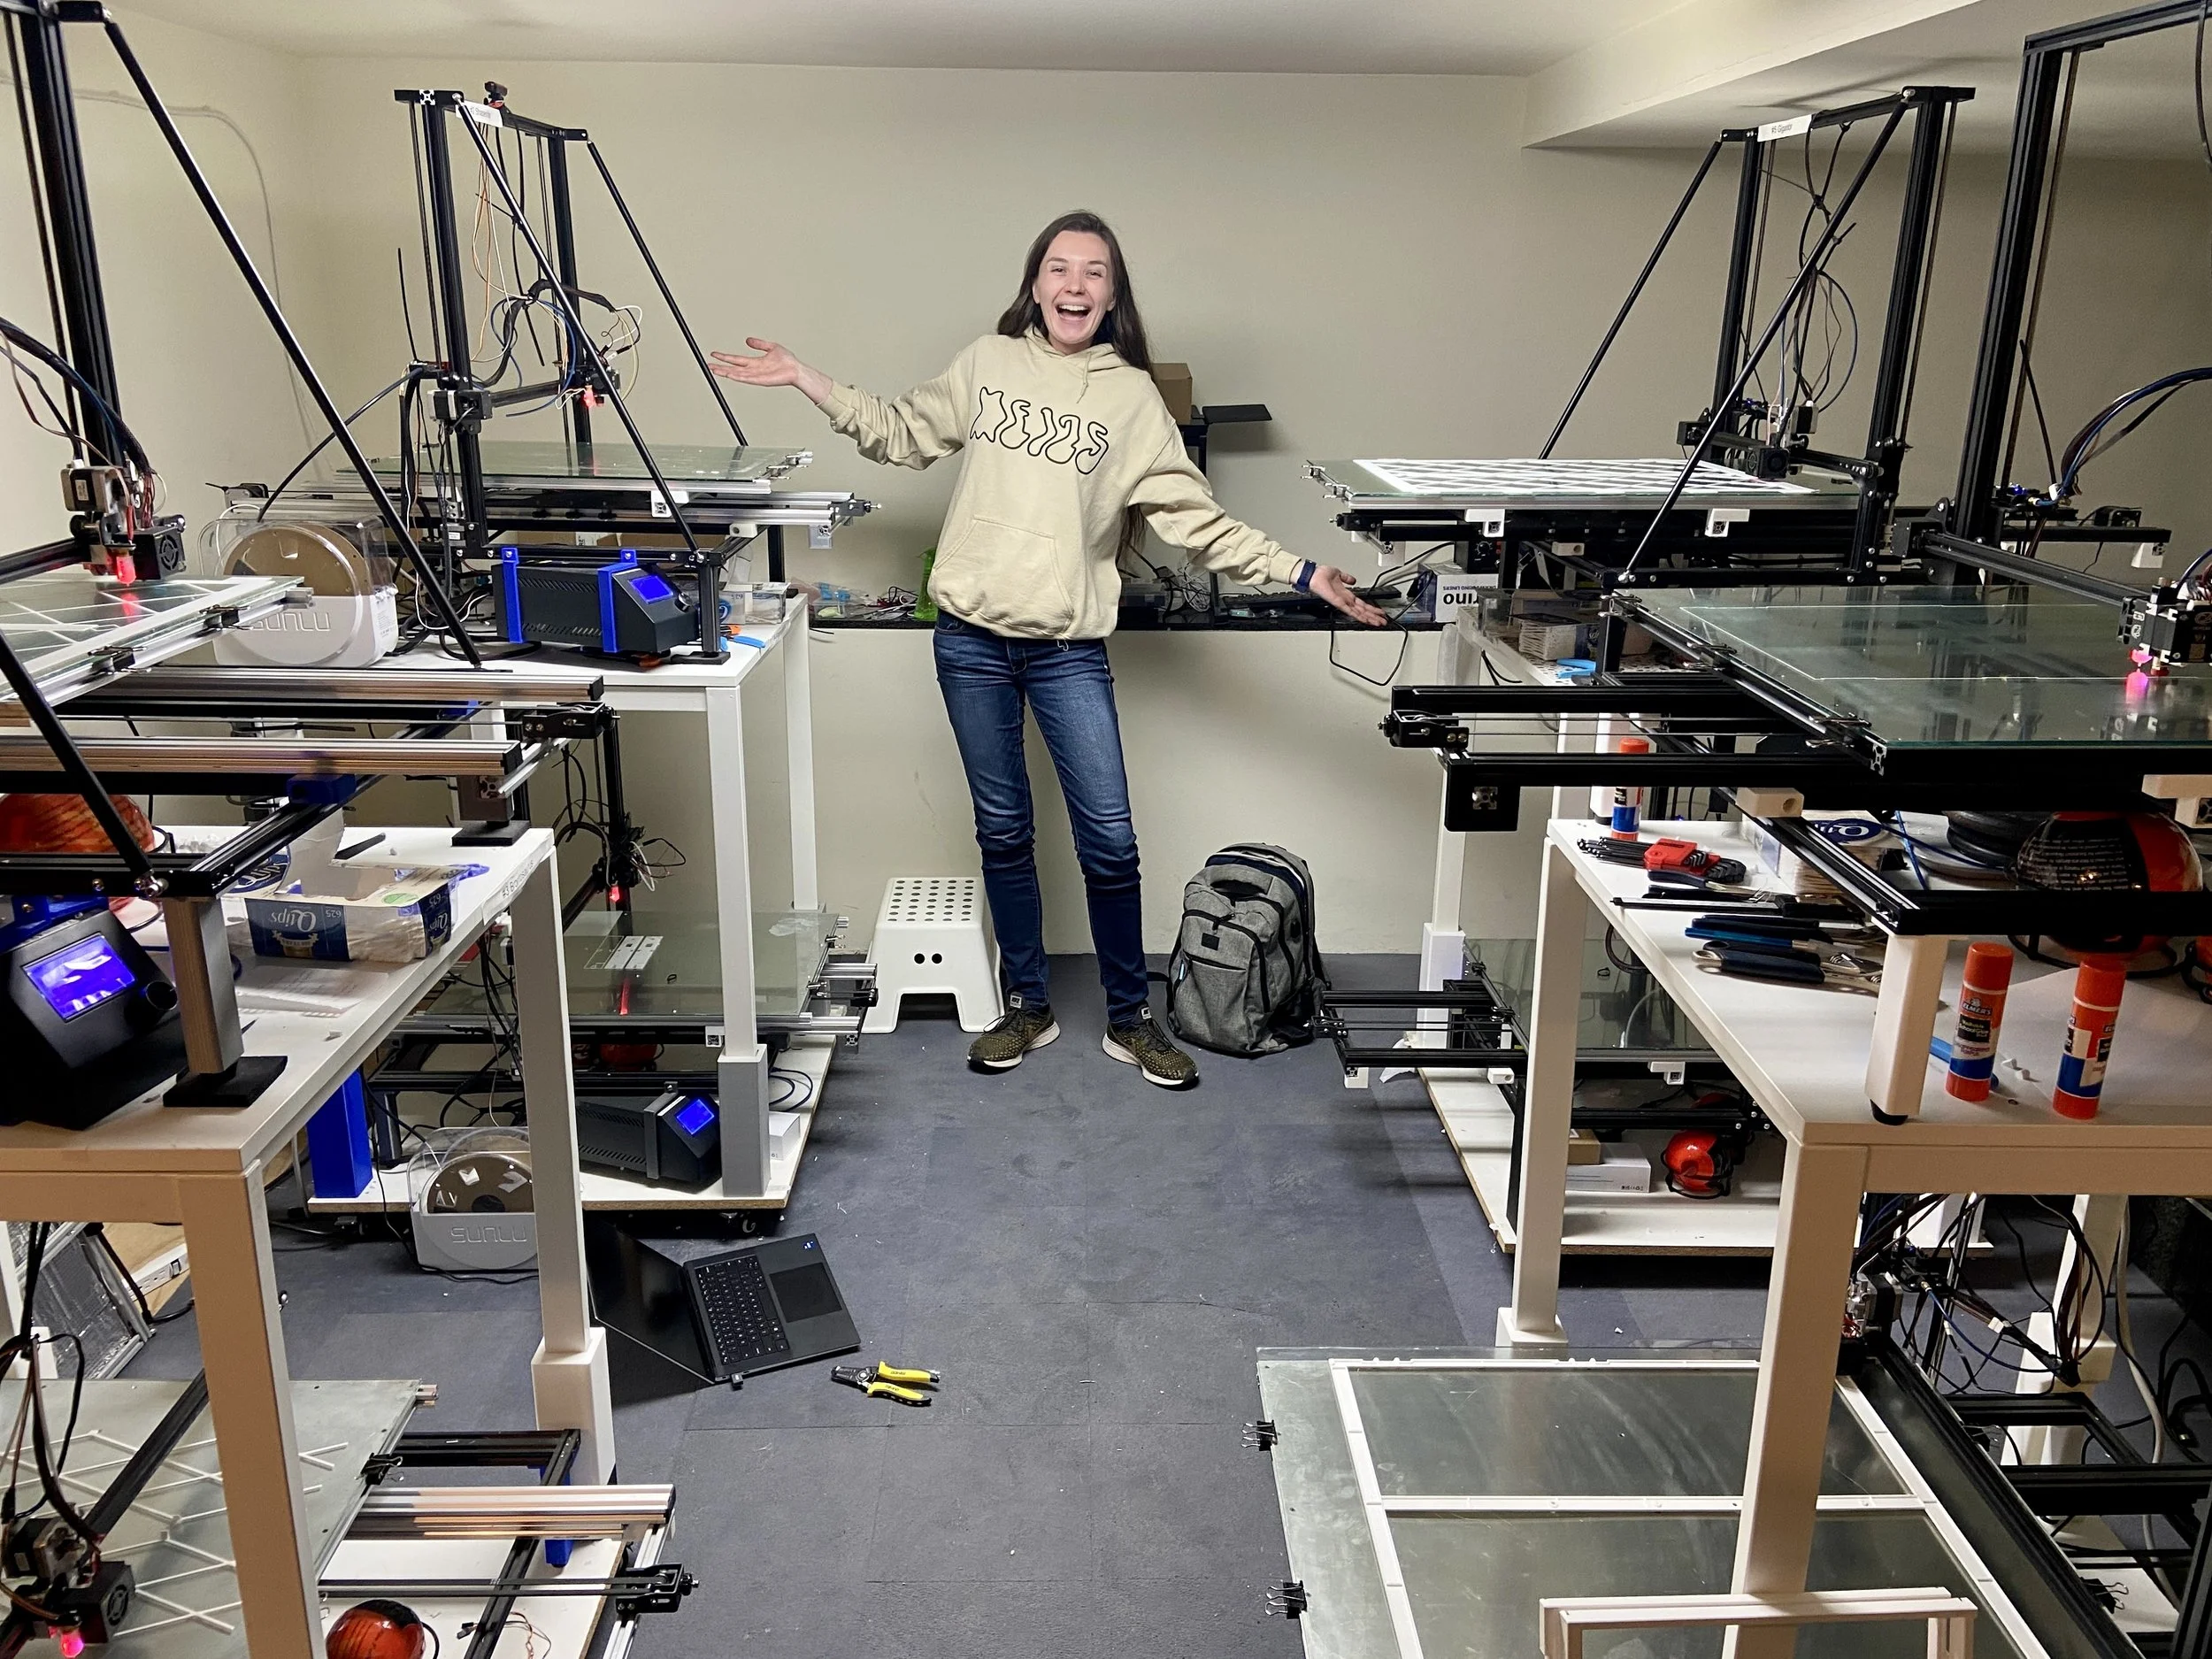
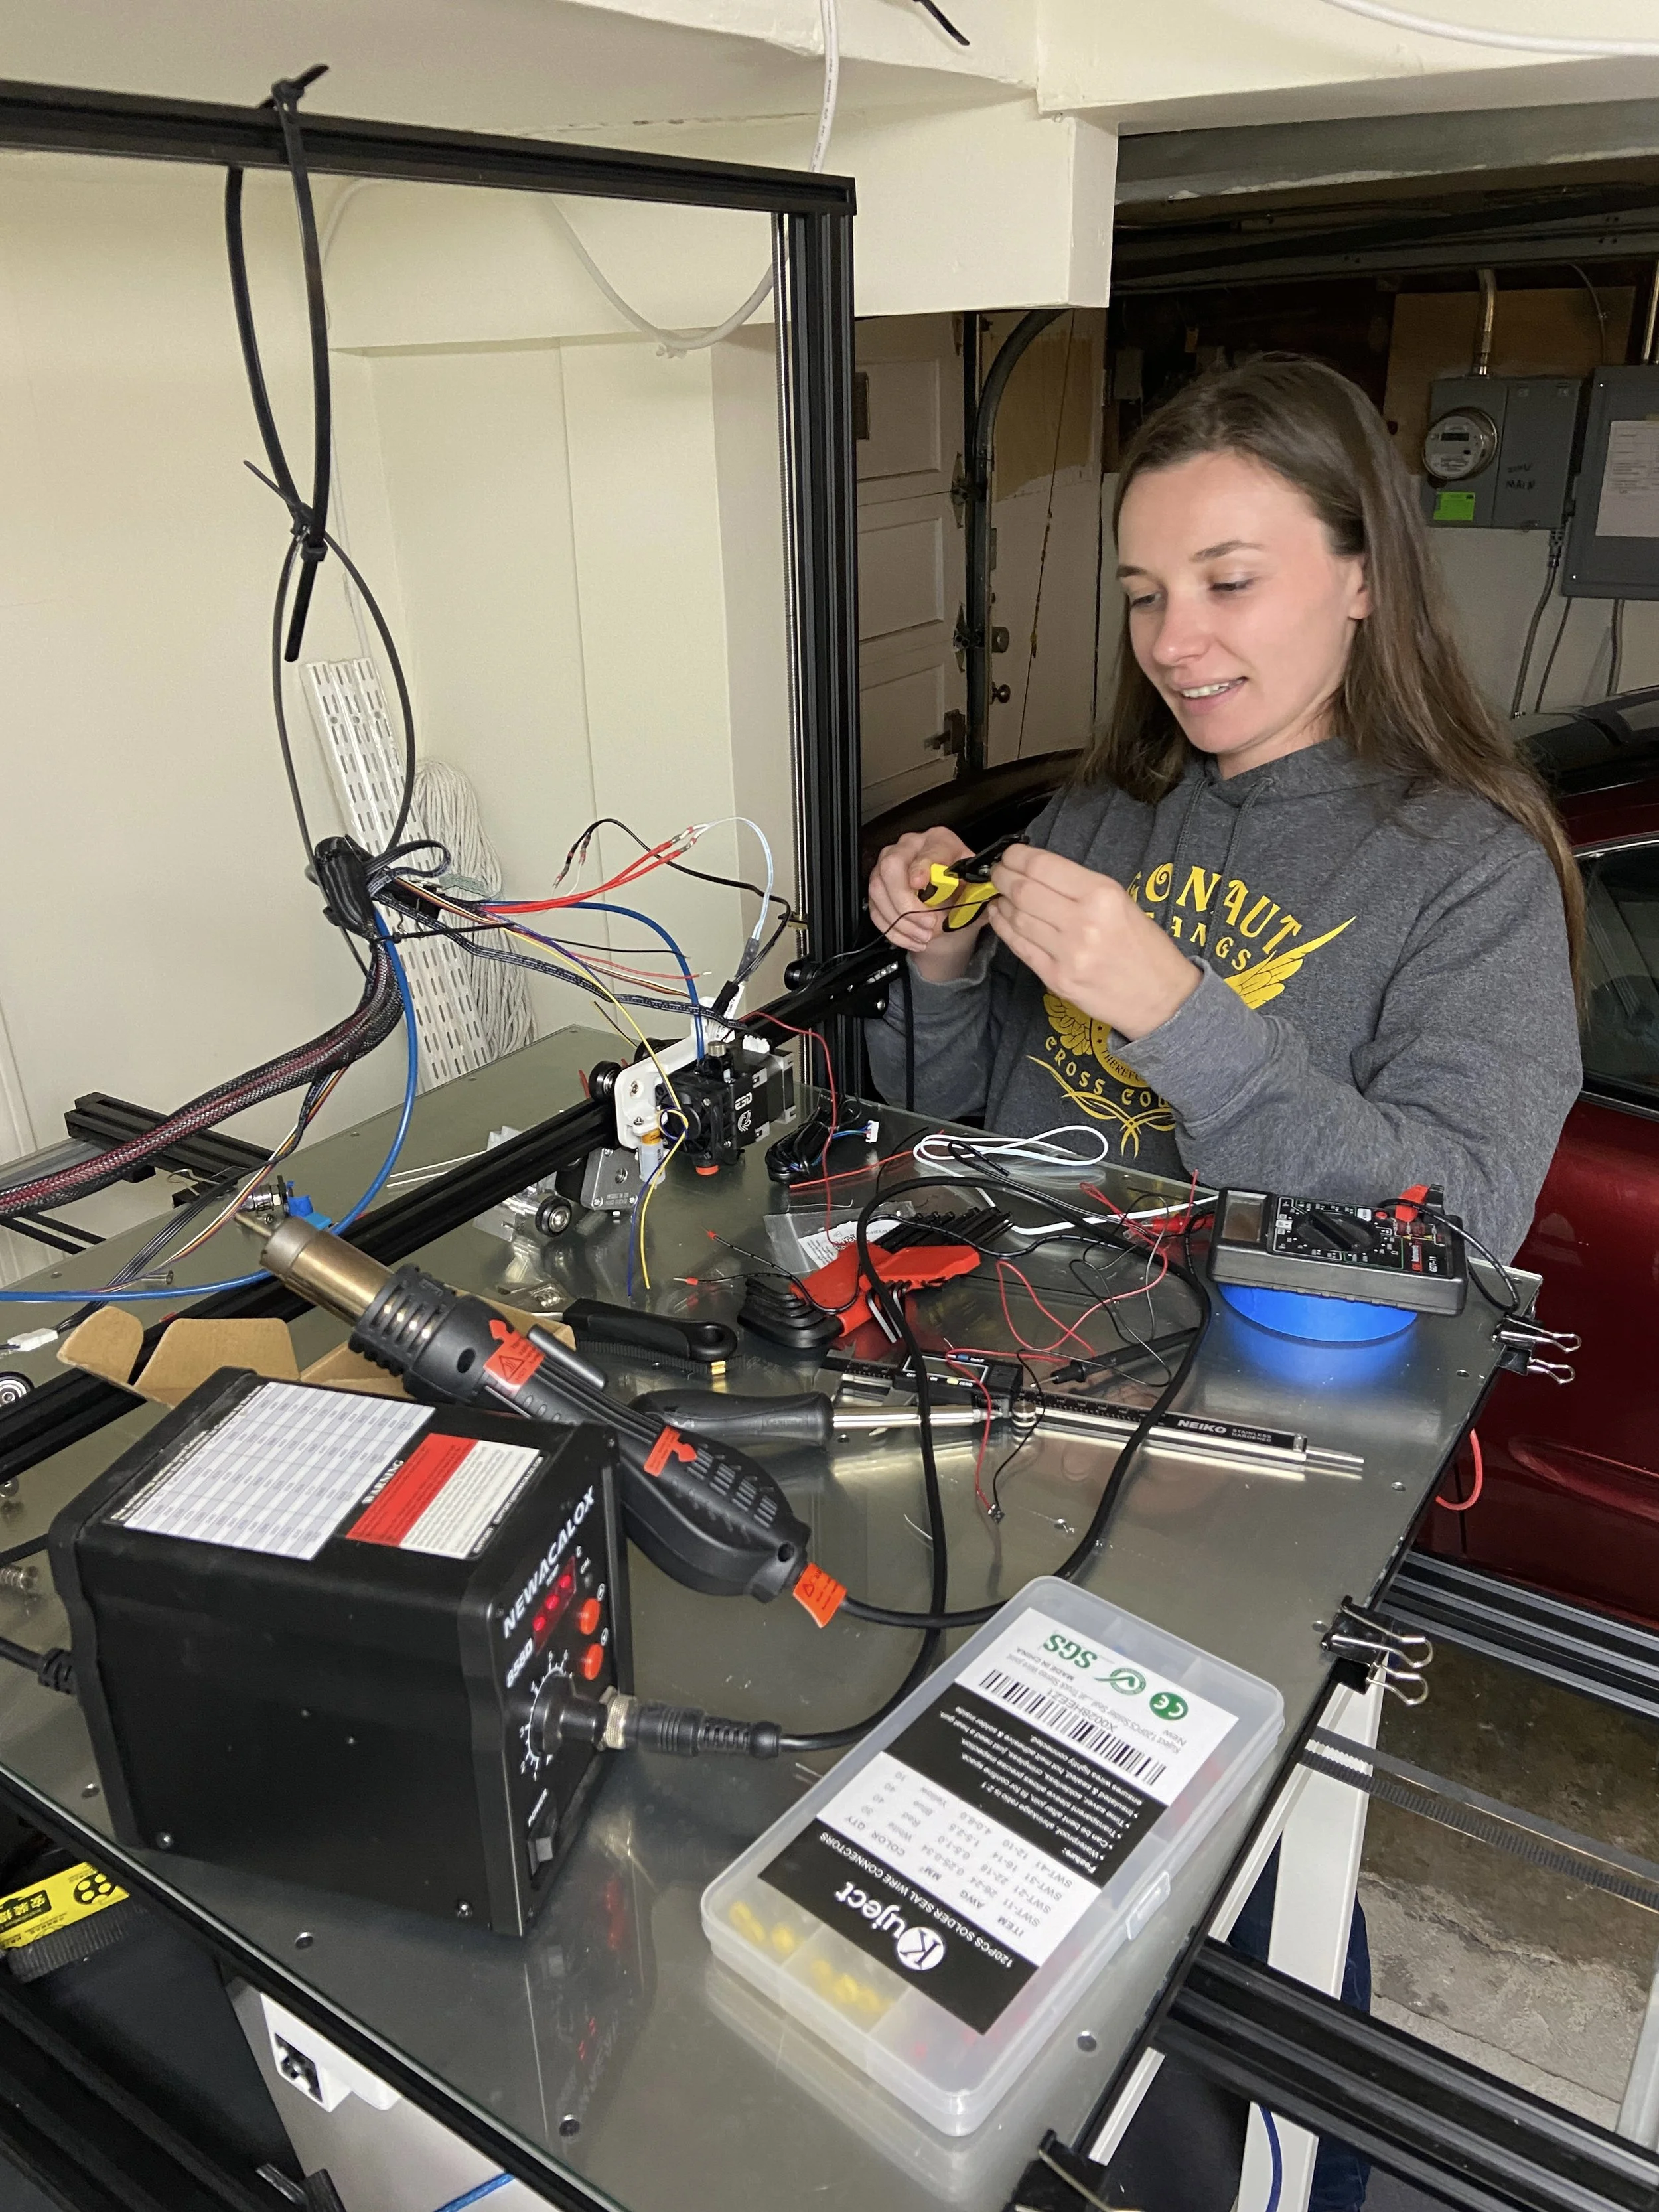
Also included are images of myself during various stages of manufacturing and assembly, including building fixtures and upgrading the modified CR-10 3D printers.
